Did you know that over 50% of structural issues in sheds stem from improper site preparation?
It’s a shocking number, but it highlights why laying a good foundation is the cornerstone of a shed that stands the test of time.
If you're planning to install a metal shed, getting the groundwork right ensures stability, longevity, and a neater appearance. But how exactly do you prepare the ground?
In this guide, we'll explore each step of the preparation process, making it straightforward and foolproof. Let’s dig in (pun intended)!
Pick Your Spot Wisely – It’s All About Location, Location, Location!
Before you even think about shovels or gravel, ask yourself: where should your shed go?
The location you choose can significantly impact the longevity (and functionality) of your garden shed.
- Assess Drainage: Avoid areas prone to pooling water. Poor drainage can cause rust and structural instability.
- Sunlight and Accessibility: Choose a spot with good sunlight to keep moisture at bay and ensure easy access to your tools and equipment. This will help reduce the risk of your shed rusting.
- Zoning and Regulations: Check with your local council for building codes or regulations. Some areas have strict guidelines on shed placement.
💡 Pro Tip: Mark the area using stakes and string. It’ll give you a clear picture of the shed’s footprint and help you visualise its fit.
Clear the Way – Removing Obstacles for a Smooth Start
Preparation starts with clearing the area.
This step ensures you have a clean slate to work on and avoids any future settling issues.
- Remove Vegetation: Grass, weeds, and shrubs should be removed entirely. Use a spade or sod cutter for efficiency. If you are placing it on grass, consider reading our guide on this.
- Eliminate Large Rocks: These can interfere with leveling and compromise the shed's foundation.
- Flatten Uneven Ground: Use a rake to even out the soil as much as possible. Compact the soil lightly to prevent future sinking.
This step lays the groundwork (literally!) for a stable base.
DO NOT skip it—it’s as essential as the shed itself!
Level Up – Creating a Flat Surface That’s Built to Last
An uneven foundation is a shed’s worst enemy. You want to make sure you have the right foundation.
A slanted base can lead to structural issues and even make the doors misalign.
Here’s how you ensure perfection:
- Measure the Area: Use a level to check for inconsistencies. Repeat this across all directions.
- Add or Remove Soil: Fill low spots with extra soil or remove excess from higher areas.
- Compact the Soil: Use a tamper or plate compactor to compress the soil. This prevents settling after installation.
💡 Pro Tip: Re-check the level after compacting. The ground may shift slightly during this process.
Gravel Base – The Secret to Stability
A gravel base provides excellent drainage and prevents water from pooling under your shed.
Here’s a step-by-step guide:
- Lay a Geotextile Membrane: This keeps weeds from growing through the gravel.
- Add Crushed Stone: Pour a layer of gravel about 4-6 inches deep. Opt for crushed stone over rounded gravel for better stability.
- Spread and Level: Use a rake to distribute the gravel evenly.
- Compact Again: A plate compactor ensures the gravel stays firmly in place.
This step acts as a buffer between your shed and the natural ground, ensuring it stays dry and level.

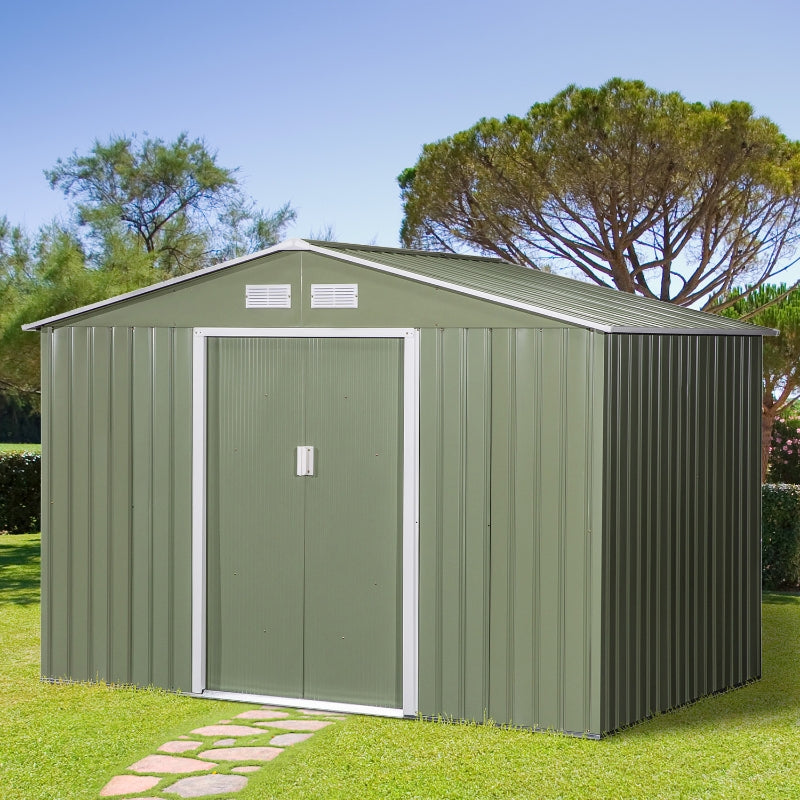
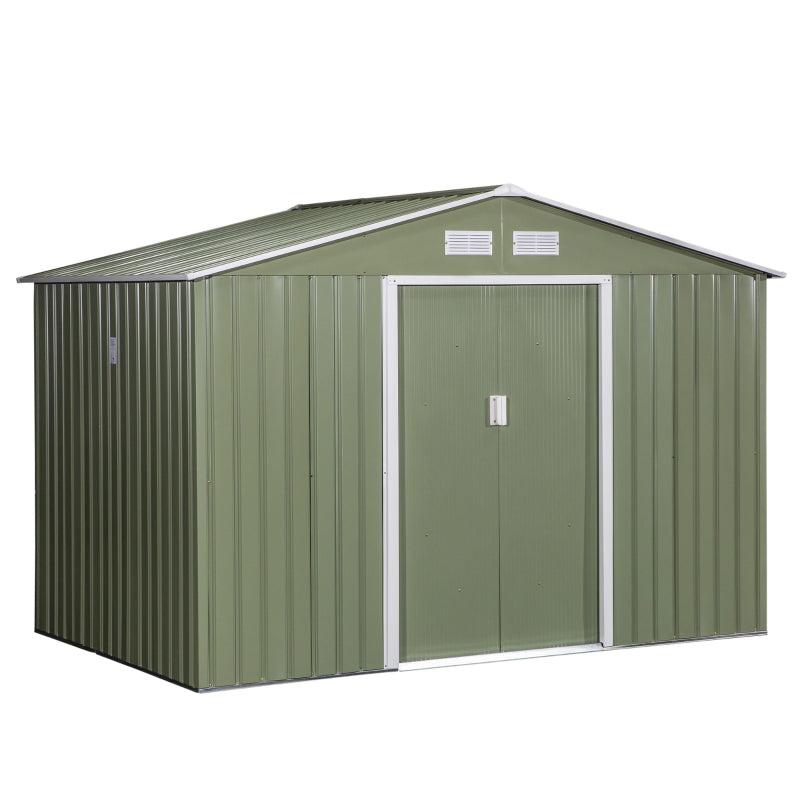
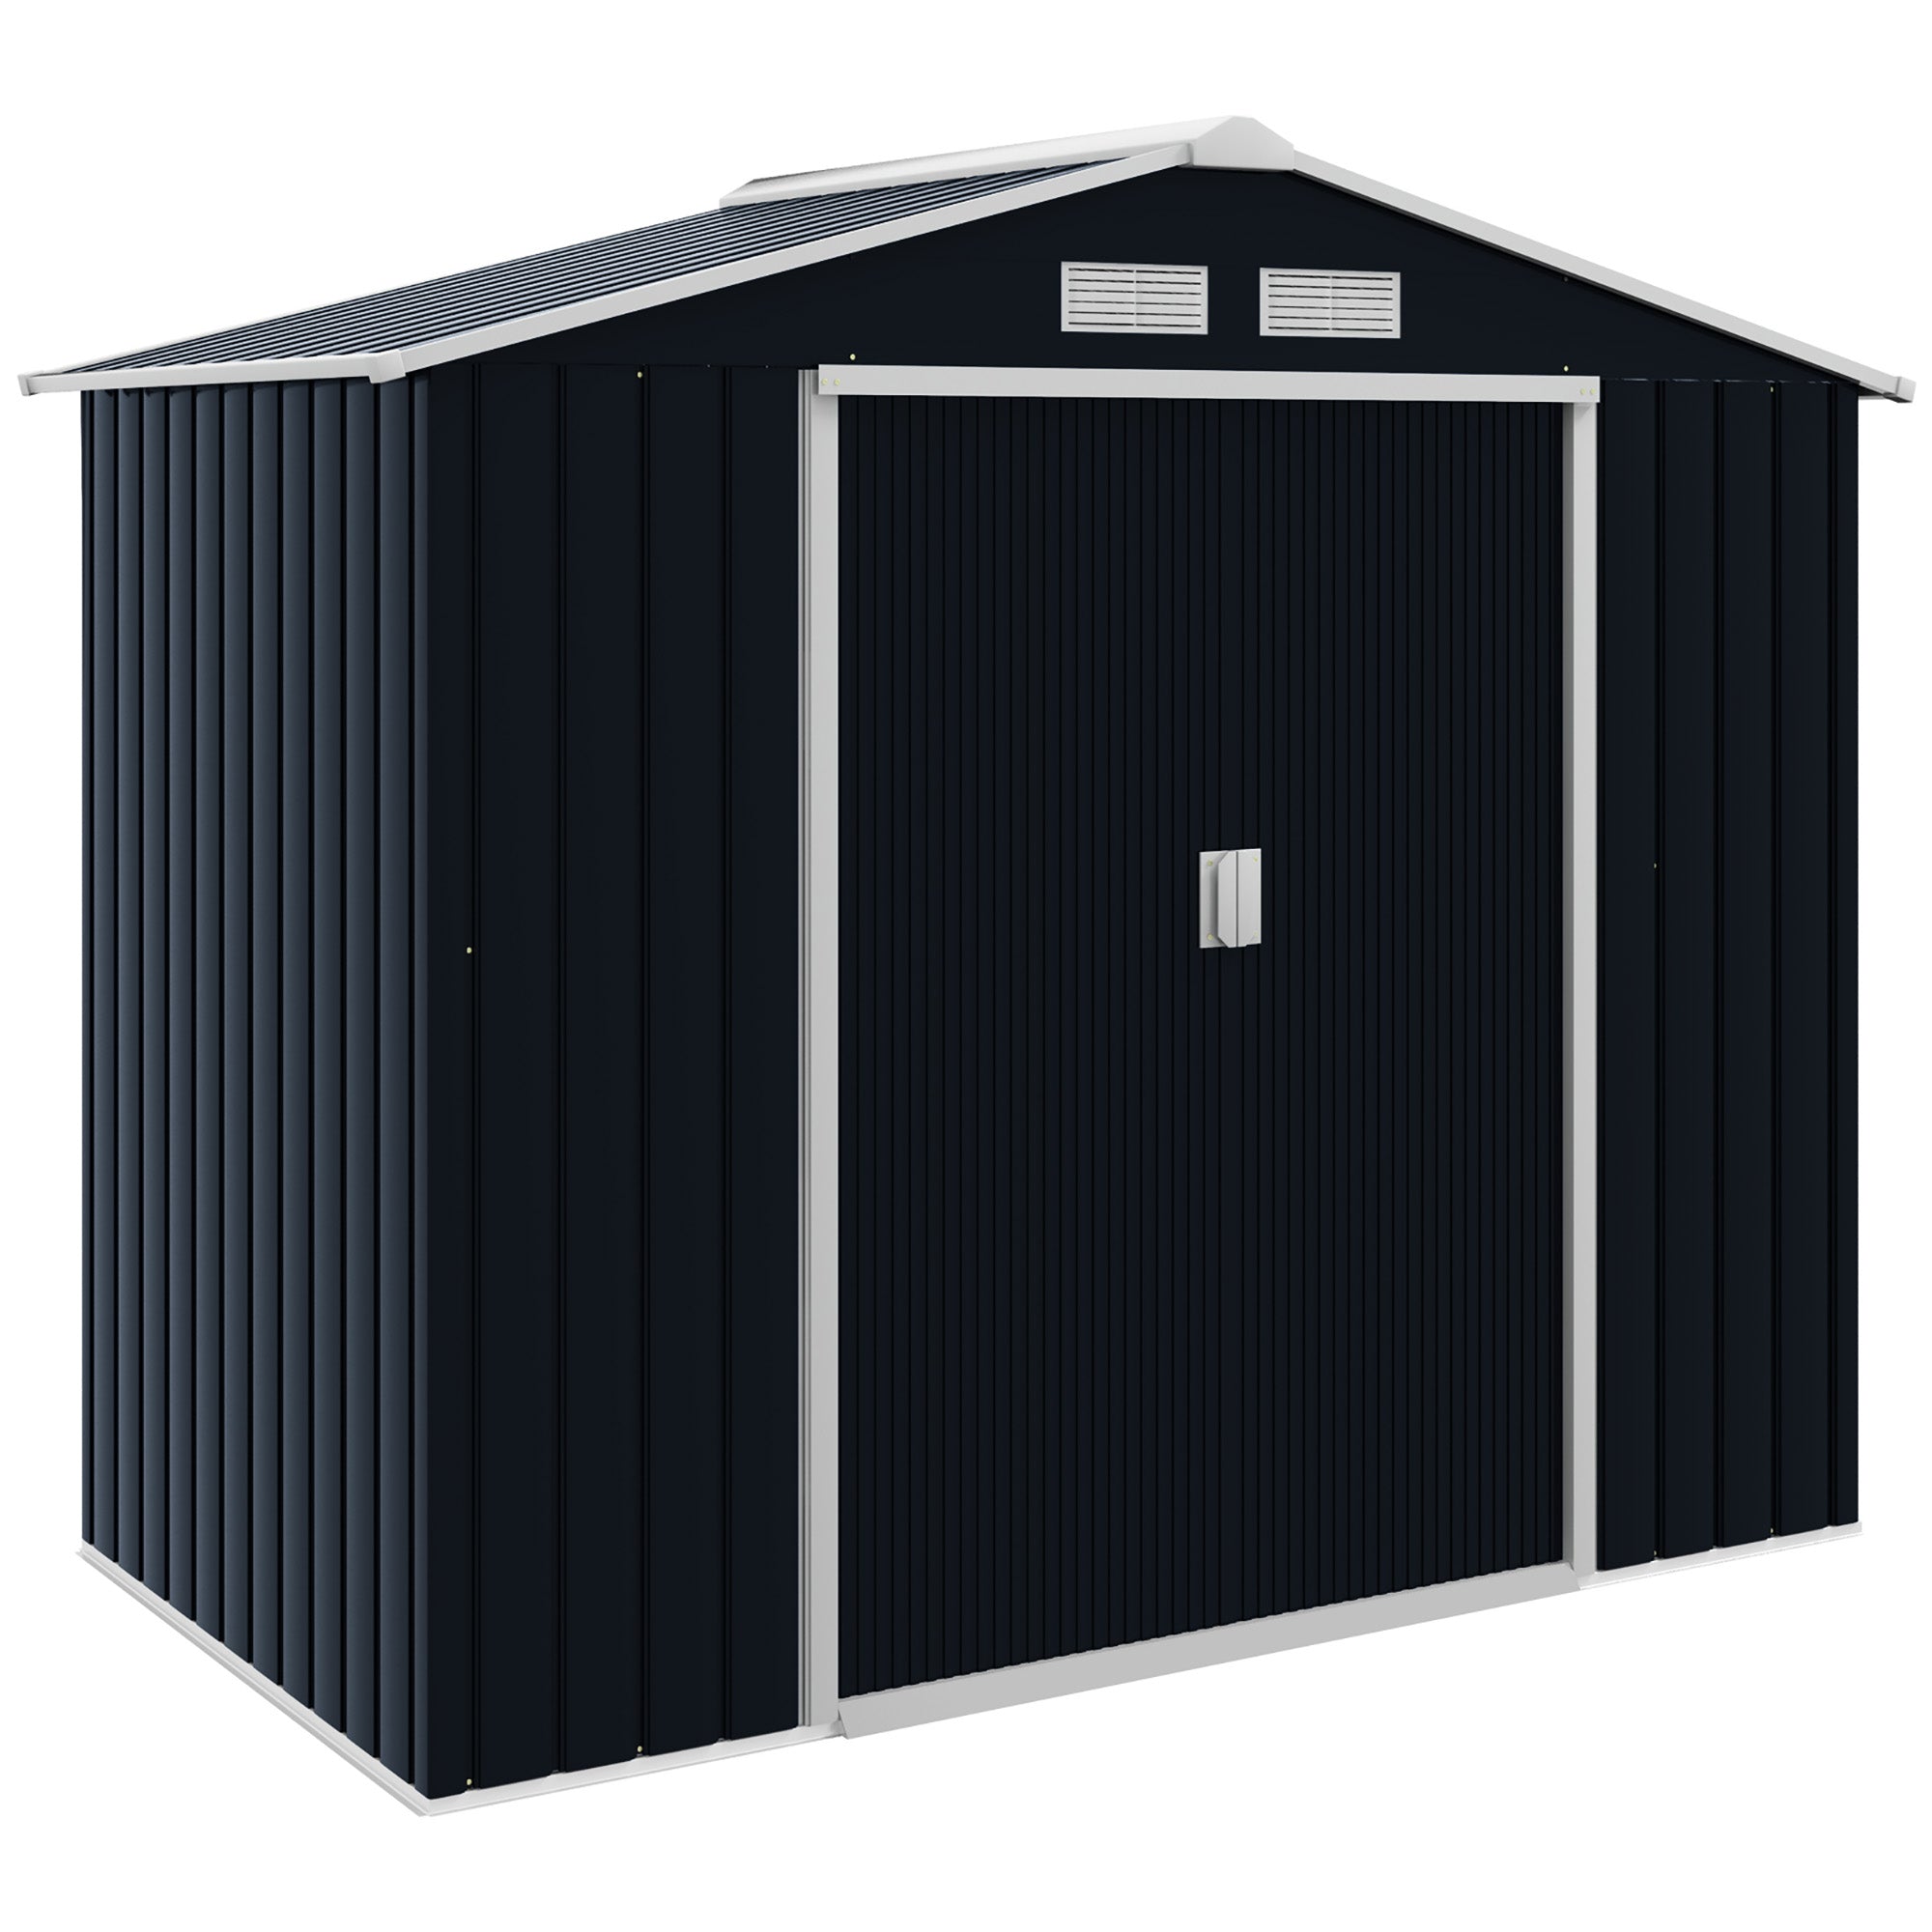
Above shows one of the grey metal sheds we supply. Free UK Delivery in just 2-3 days.
Concrete – The King of Shed Foundations
If you’re installing a large or heavy-duty metal shed, a concrete base might be the best choice. Here’s how to do it:
- Build a Wooden Frame: Use timber planks to create a form around the shed area.
- Pour the Concrete: Mix and pour concrete into the frame. Spread it evenly using a trowel.
- Smooth and Level: Use a long screed to level the surface and remove air bubbles.
- Cure the Concrete: Let it set for at least 24-48 hours before placing your shed.
💡 Pro Tip: Add rebar or wire mesh to the concrete for additional strength.
Checkpoints Before Installation – Don’t Skip the Final Touches
You’re almost there!
Before you start assembling your shed, make sure the groundwork is 100% ready:
- Double-Check the Level: Use a spirit level to confirm evenness.
- Inspect Drainage: Simulate heavy rain with a hose to see if water pools.
- Reinforce Edges: Add a border of treated timber or bricks to prevent gravel from spilling over.
These final touches ensure everything stays in place, even during adverse weather.

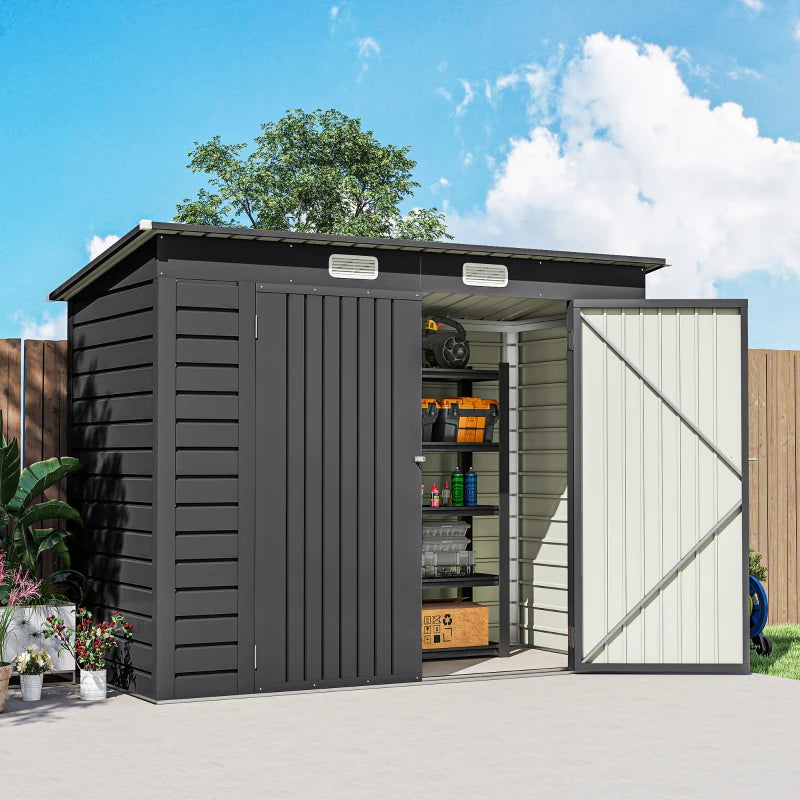
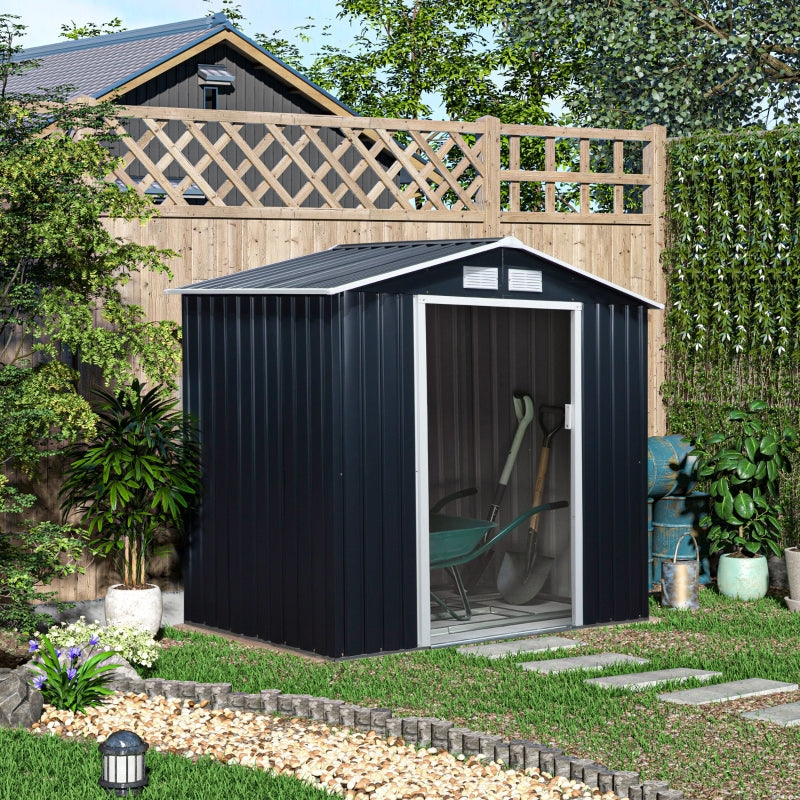
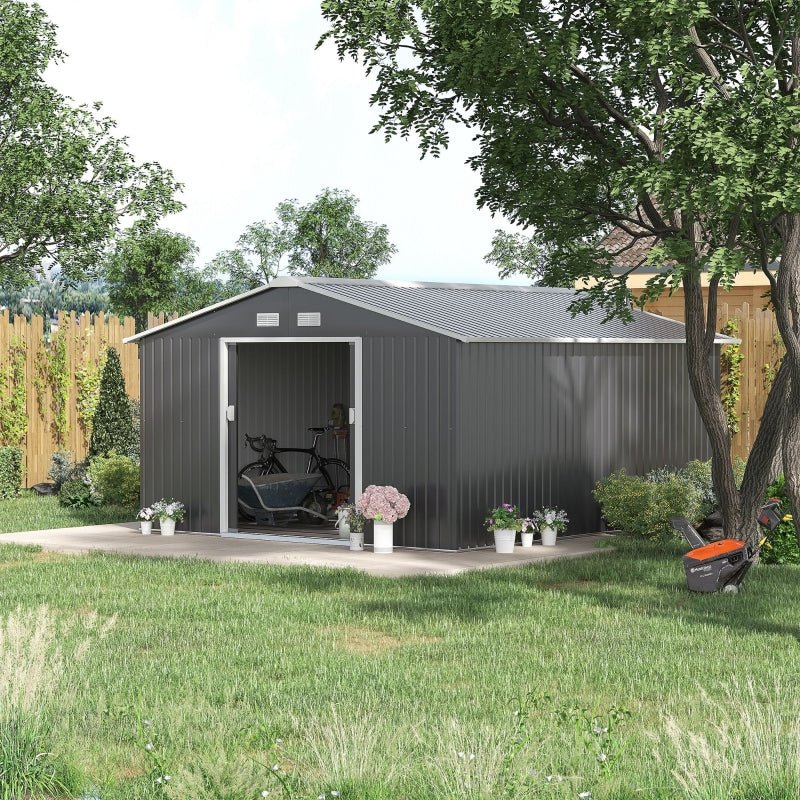
The 13x11ft metal shed we supply comes with a strong metal frame foundation. You can lay your own MDF over the top!
Final Tips Summary: Ground Preparation for Your Metal Shed
- Choose a Suitable Location: Pick a spot with good drainage, sunlight, and accessibility. Always check local zoning regulations.
- Clear the Ground: Remove grass, weeds, and large rocks to ensure a smooth and clean surface.
- Level the Area: Use a spirit level to measure uneven spots, add or remove soil, and compact the surface to prevent future sinking.
- Install a Gravel Base: Lay a geotextile membrane, spread 4–6 inches of crushed stone, and compact it for stability and drainage.
- Consider a Concrete Base for Larger Sheds: Build a wooden frame, pour the concrete evenly, and let it cure for 24–48 hours.
- Recheck the Surface: Confirm the level and inspect for proper drainage before assembling the shed.
- Reinforce Edges: Use treated timber or bricks to keep gravel contained and add a polished look.
- Plan for Long-Term Maintenance: Keep the area around the shed clear of debris and check for drainage issues after heavy rain.