Setting up a fence post is a pivotal aspect of a fencing project. Ensuring the post's depth is crucial to its stability and longevity. Here's an in-depth walkthrough to adeptly install your fence post.
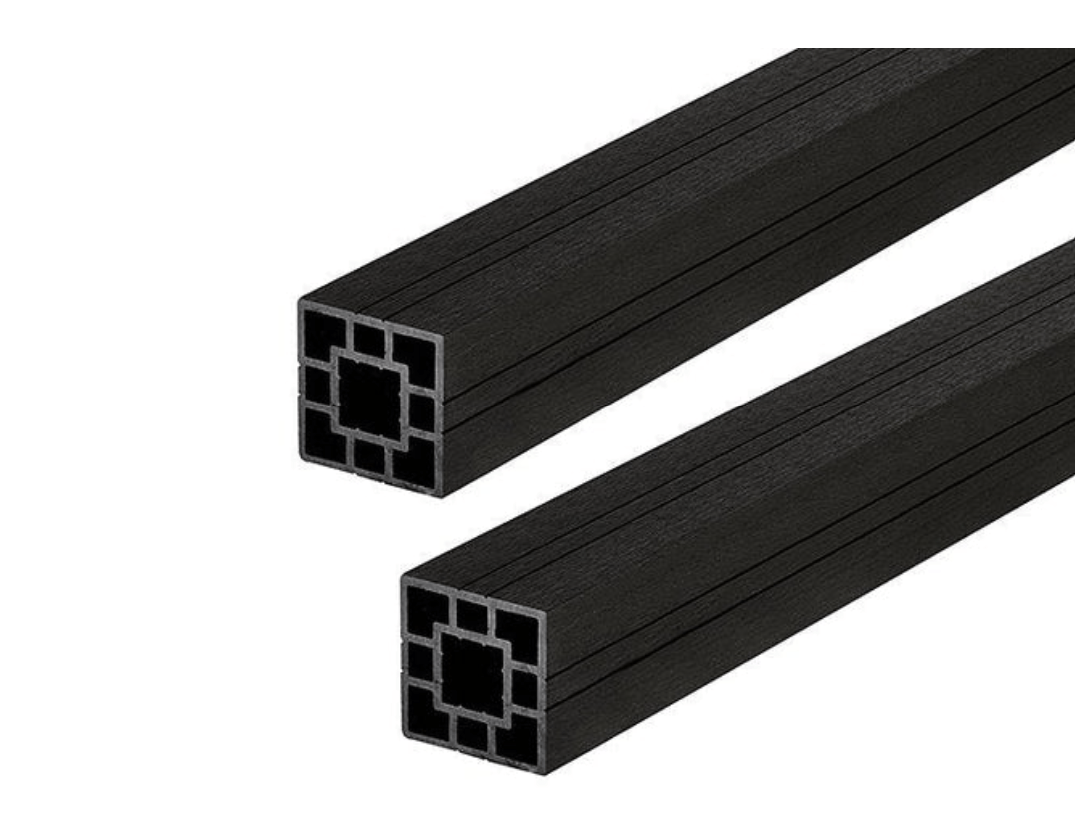
If you need any composite fence posts, we can supply you.
Optimal Depth for Your Fence Post
A widely accepted principle for determining the depth of a fence post is to have two-thirds of its length above the ground. That's what we recommend with the composite fencing that we supply.
For instance, for a post spanning 6 feet, ideally, 4 feet should remain visible above the terrain.
This ensures ample fortification against potential wind-induced damages. For wooden fences, it's paramount to ensure the posts don't make direct contact with the soil, as it could usher in decay or other long-term complications.
Excavating the Post Cavity
Having ascertained the requisite depth, you can embark on the excavation. The nature of the soil dictates the effort and tools needed.
While friable soil might yield easily, harder terrains like clay or rock might necessitate specialized tools like mattocks or even pneumatic drills.
It's essential to widen the hole's base to facilitate concrete enveloping the post from all sides, bolstering its stability.
Crafting & Administering Concrete
The art of concocting concrete need not be daunting. For a resilient mix suitable for fences, blend Portland cement (in one part) with sand (two parts) and gravel (three parts).
When amalgamating manually, trickle in water judiciously until you achieve a consistency that's viscous yet malleable. Upon reaching this texture, administer it into the post cavity.
Subsequent to pouring, sprinkle some water atop the blend and employ a spatula or rod to even out any irregularities, ensuring the concrete sets flawlessly around the fence post.

