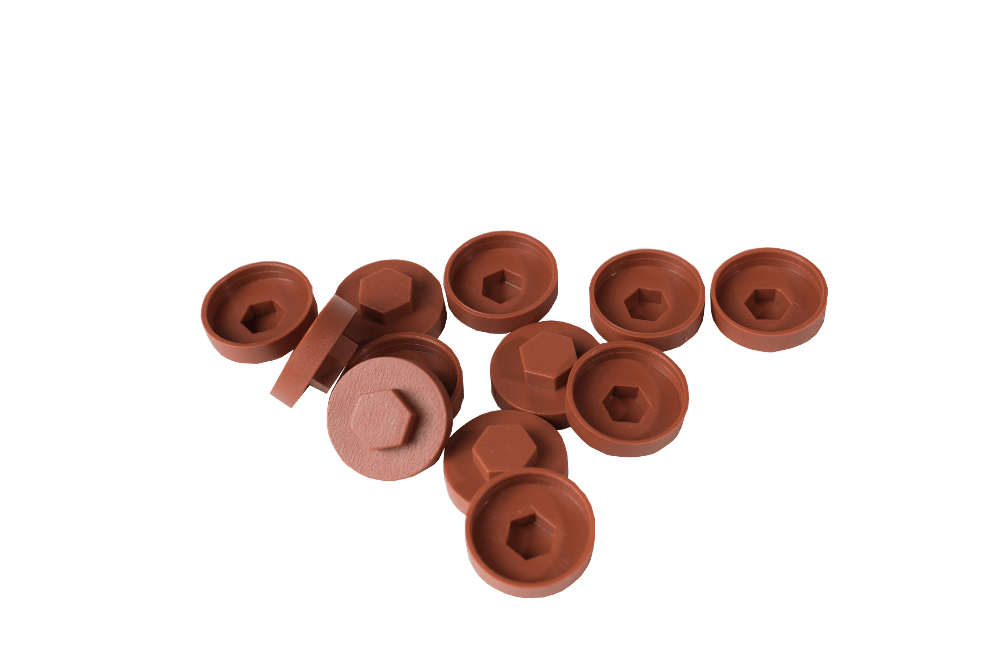
HC19 19mm Brown Colour Caps - Pack of 100
Sale price£6.38
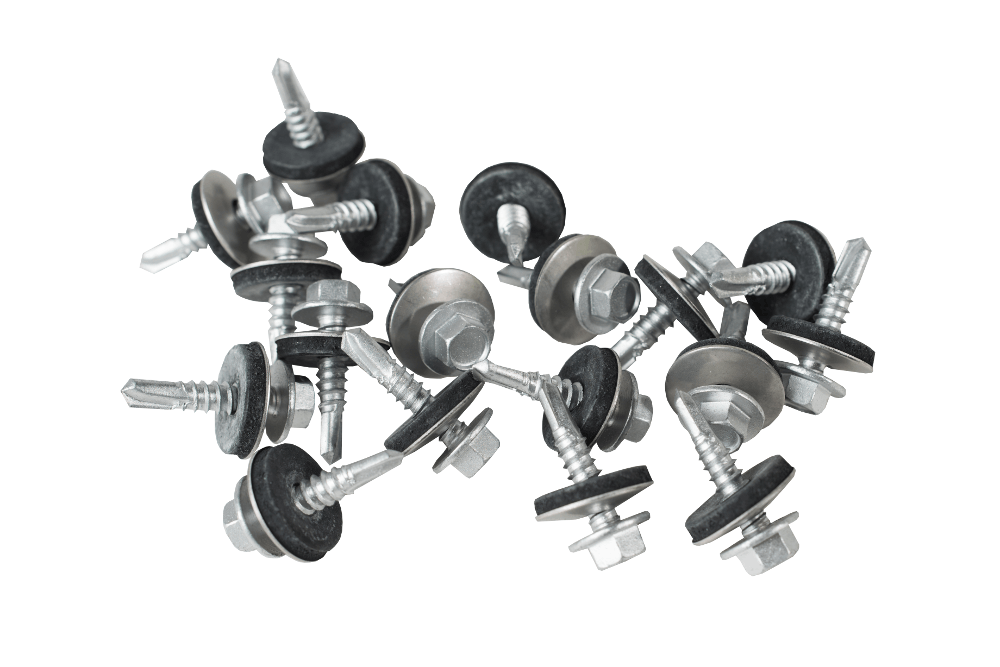
75mm Screws for light steel with a 19mm bonded washer (Pack of 100)
Sale price£21.15
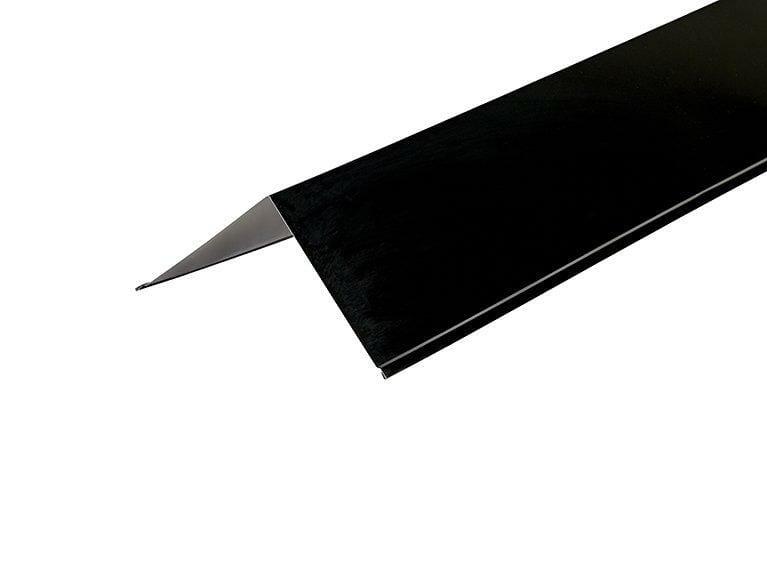
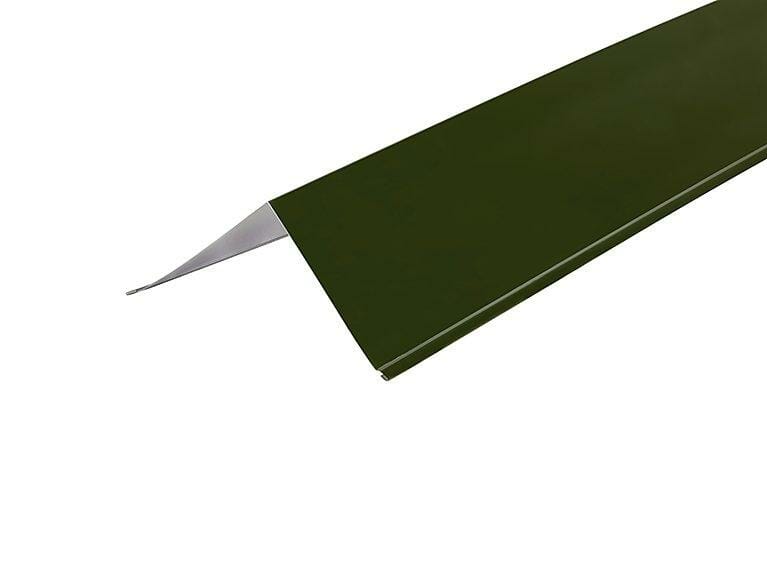
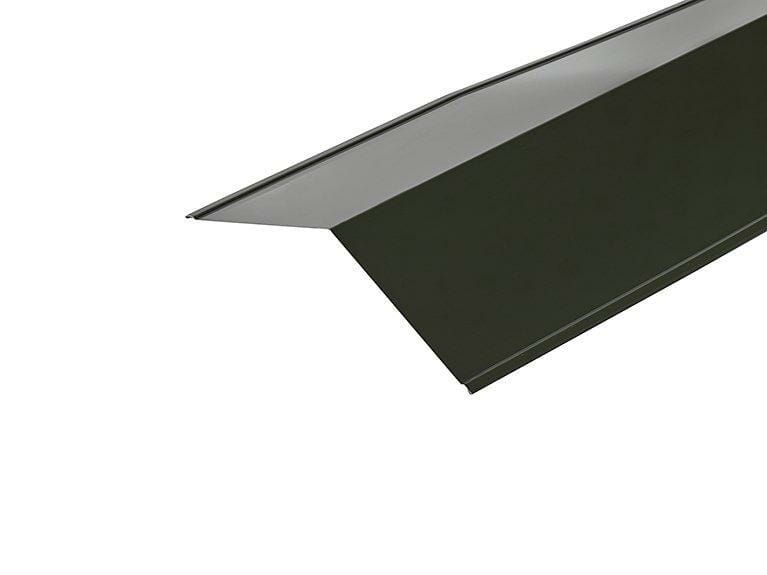
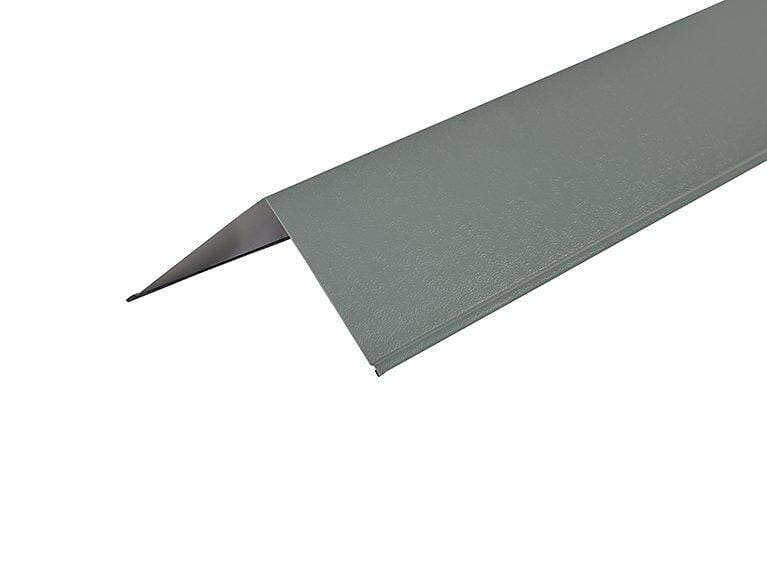
Metal Polyester Painted Black Barge Flashing 150 x 150mm x 3000mm
Sale price£18.79

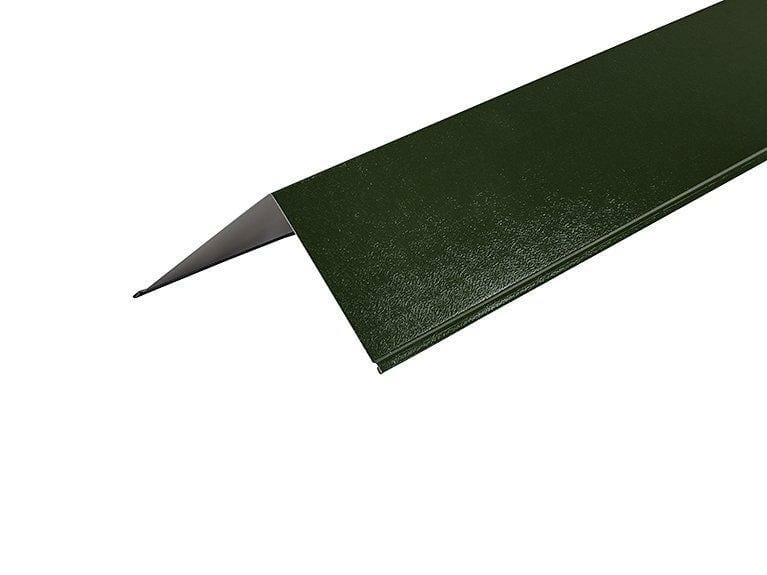
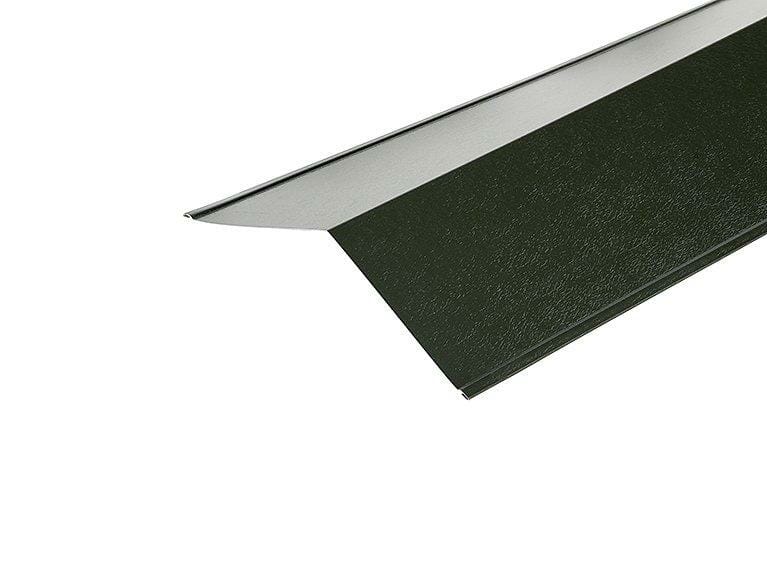
Metal Polyester Painted Black Barge Flashing 200mm x 200mm x 3000mm
Sale price£24.06


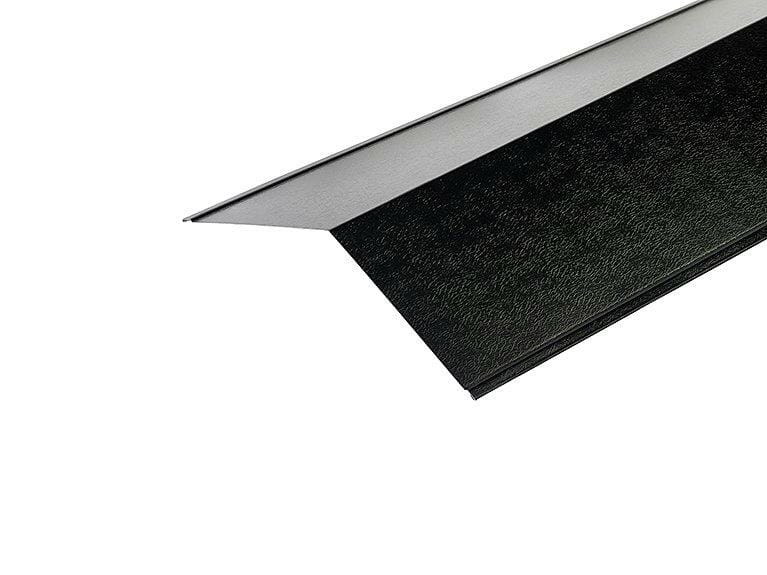
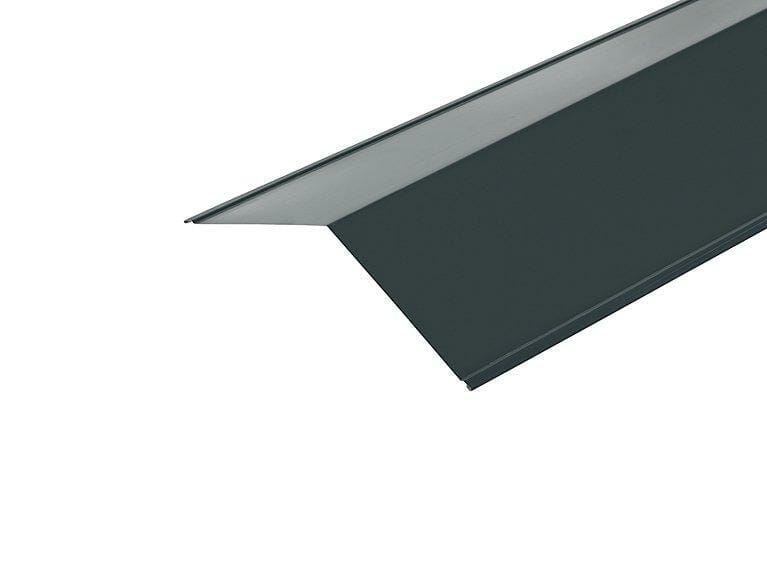
Metal Polyester Painted Black Ridge Flashing 200mm x 200mm x 3000mm
Sale price£24.06
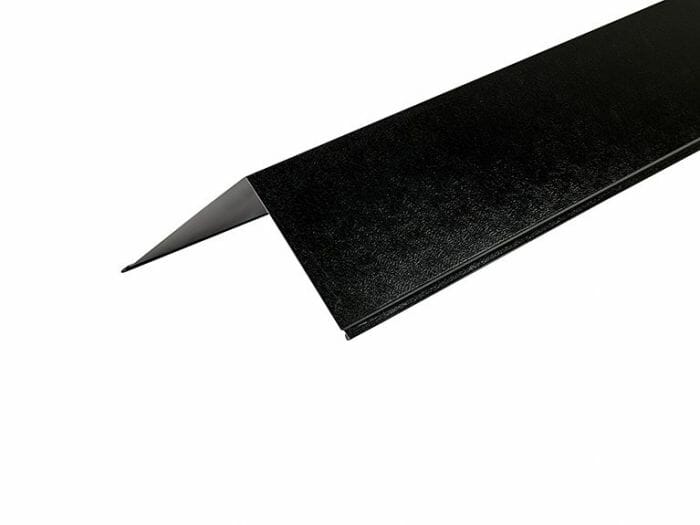
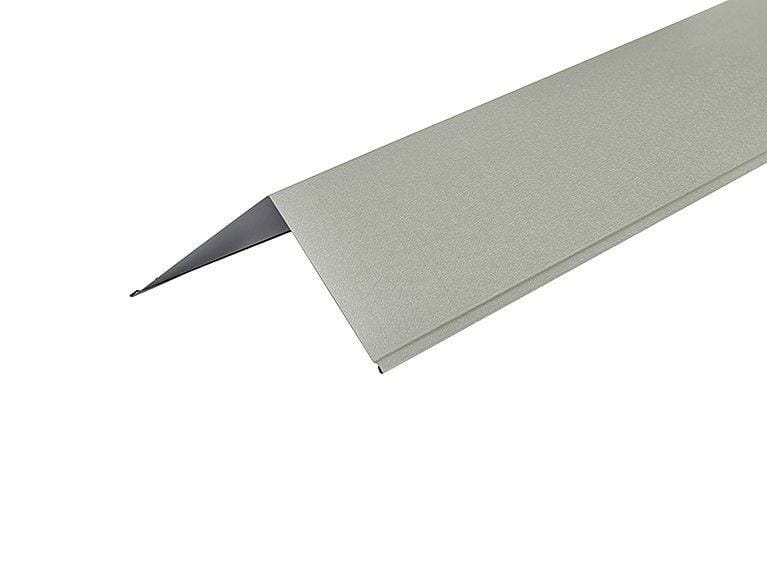
Metal PVC Plastisol Coated Black Barge Flashing 150 x 150mm x 3000mm
Sale price£26.32
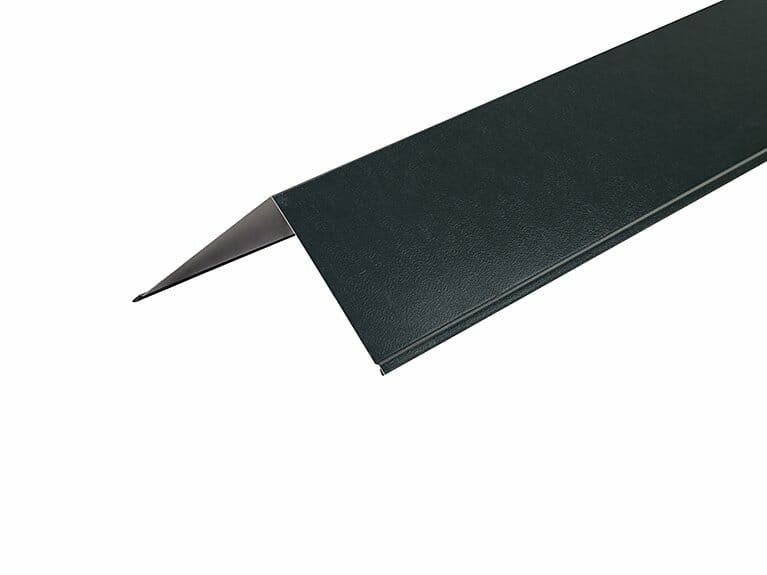
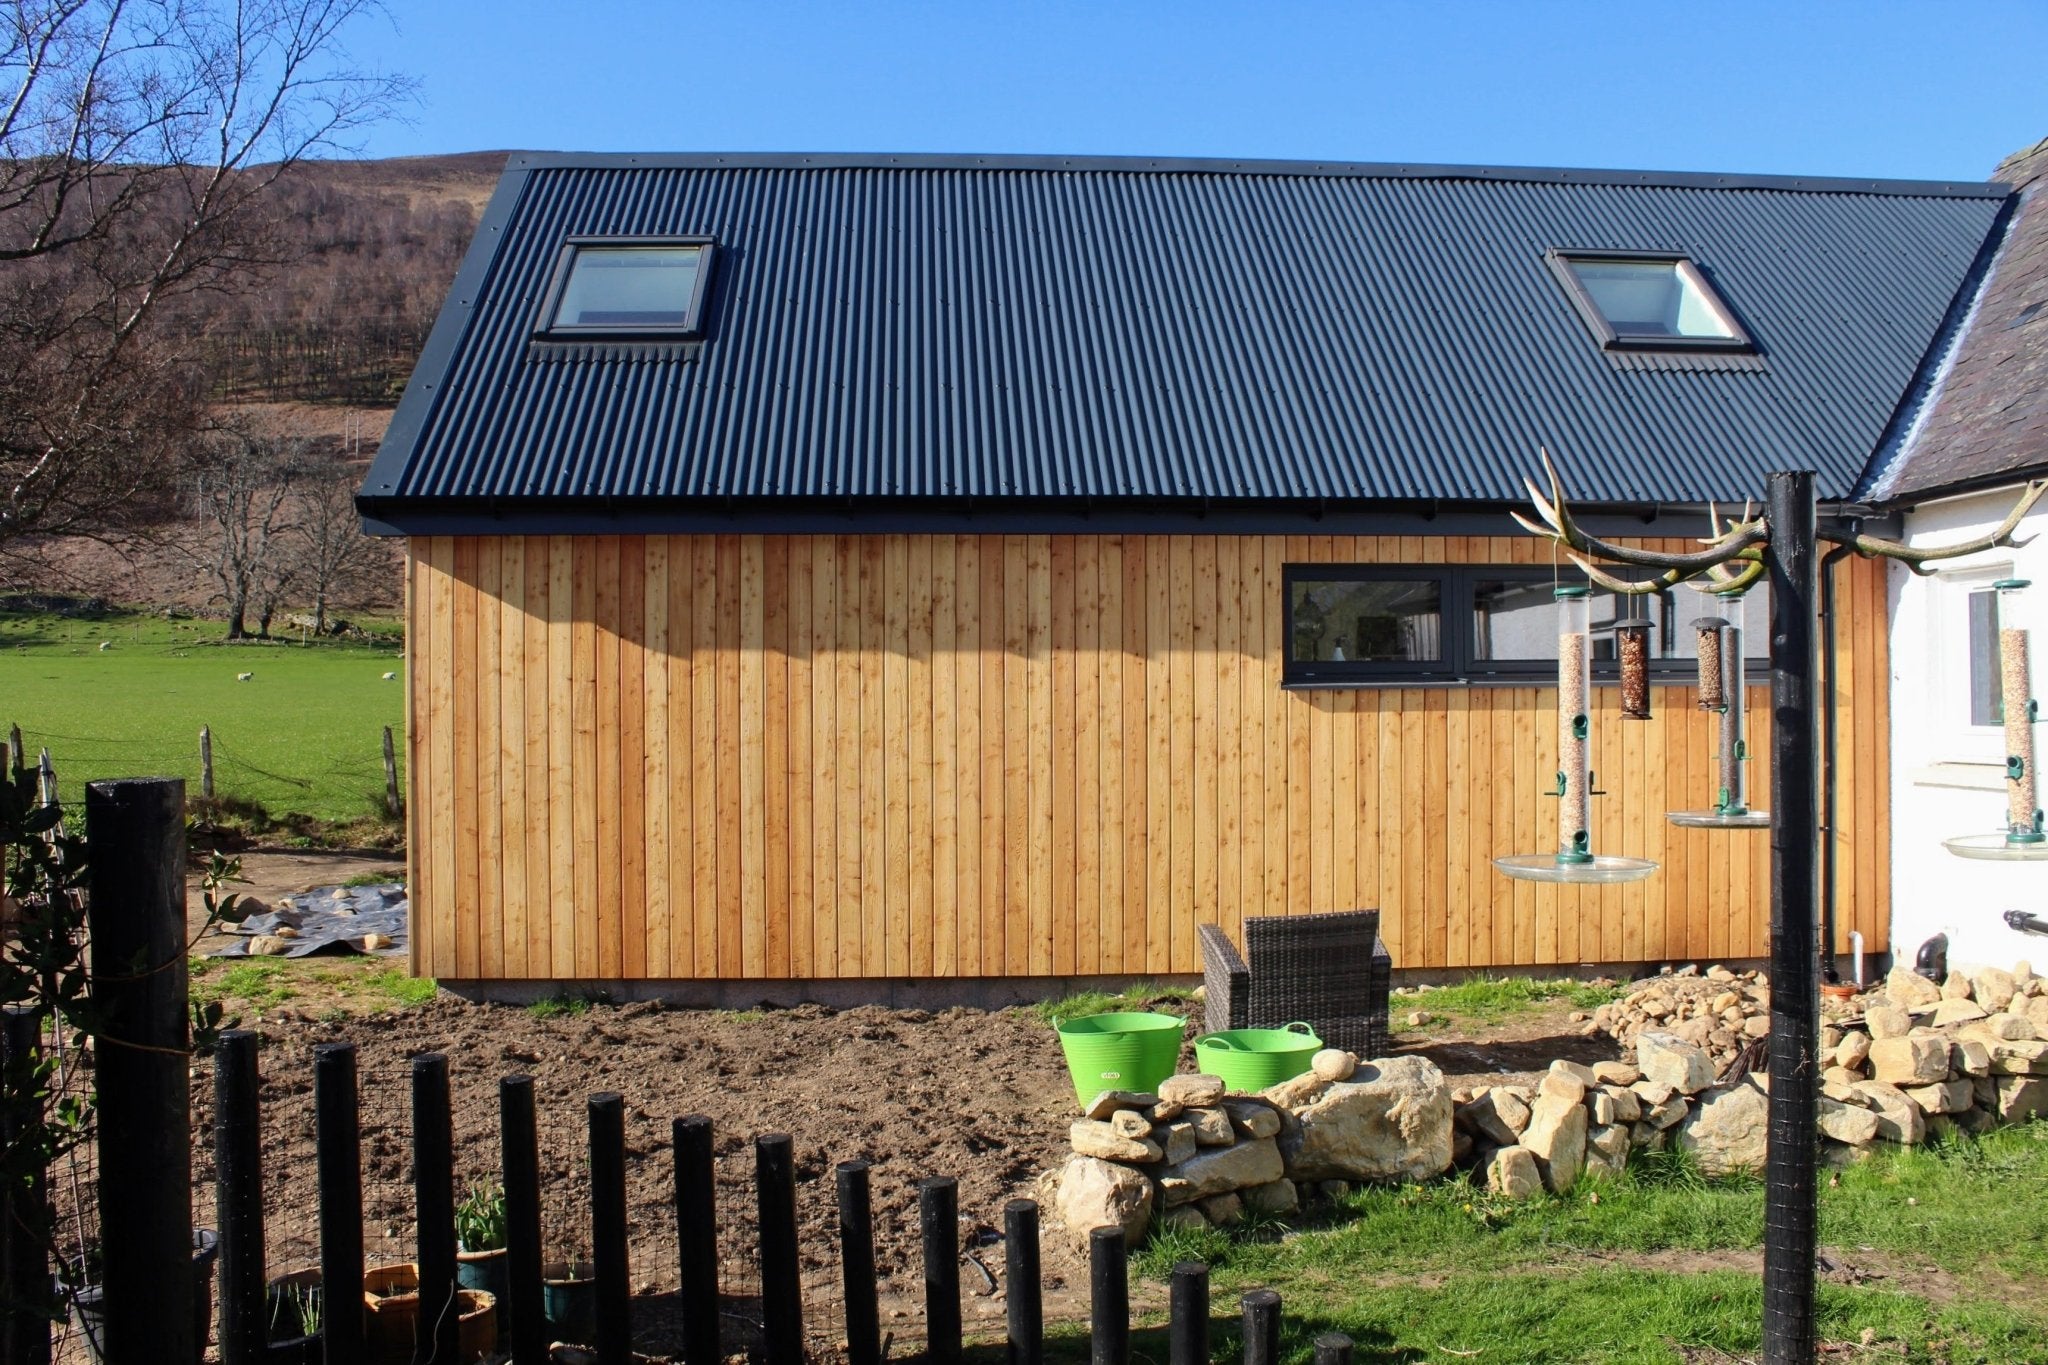

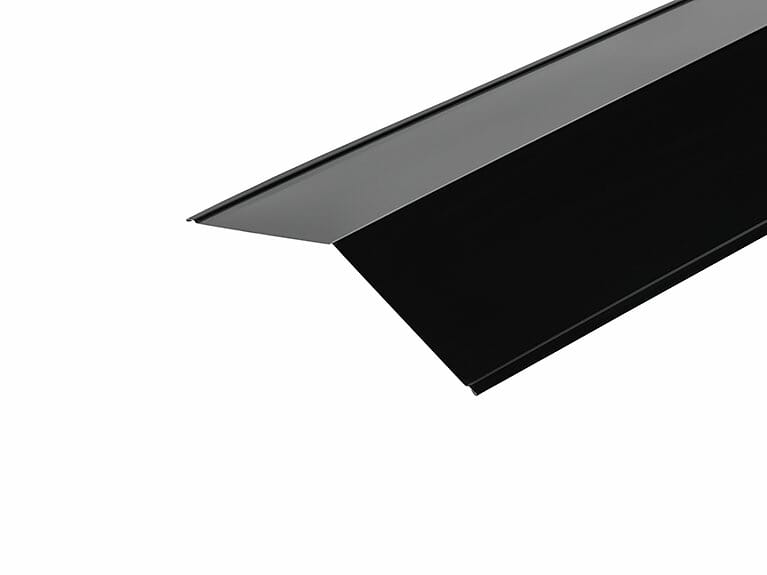
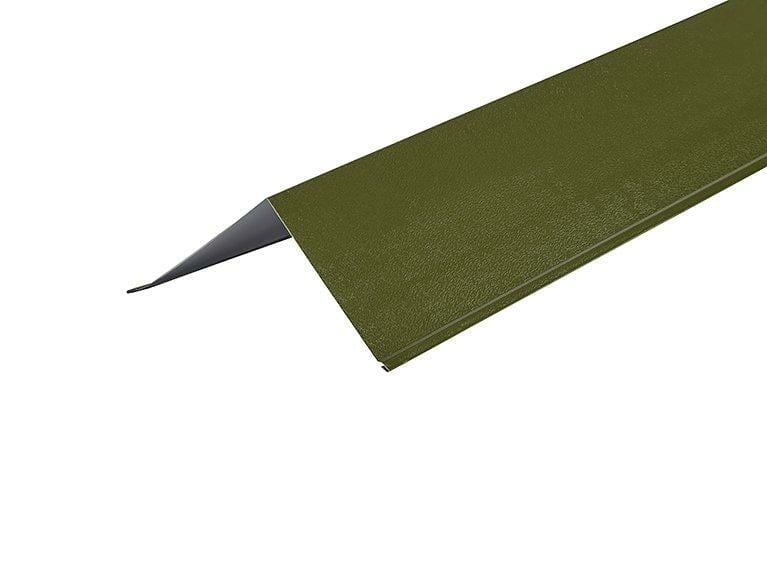
Metal Polyester Painted Black Ridge Flashing 150 x 150mm x 3000mm
Sale price£18.79

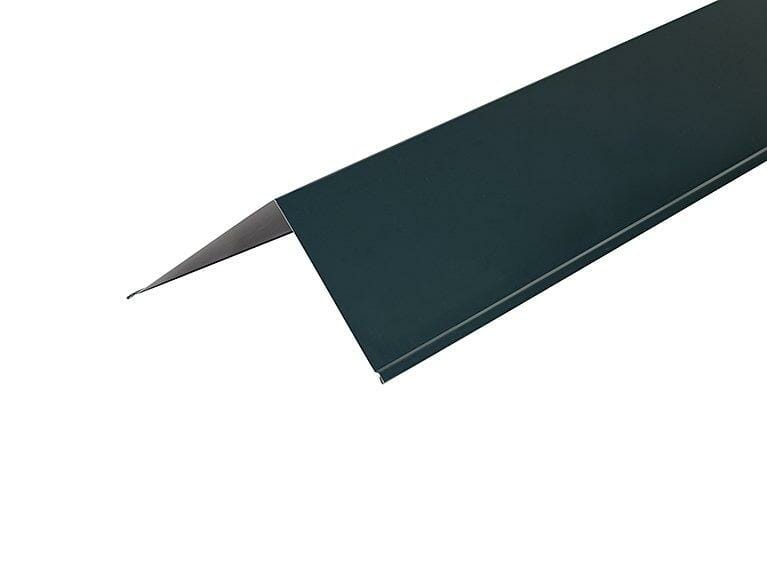
Metal PVC Plastisol Coated Black Ridge Flashing 150 x 150mm x 3000mm
Sale price£26.32


Recently viewed