You don’t choose Lindab guttering by picking a colour and a couple of lengths and hoping for the best. You choose it by designing a rainwater system that suits your roof, your rainfall reality, and how your house is built.
Here’s the straight truth: most “wrong Lindab orders” aren’t because Lindab is confusing. They happen because people skip the thinking part - especially around size, outlets and downpipe planning. This guide is built to stop that.
You’ll finish this knowing exactly what to decide, in what order, and what to measure before you buy anything.
Step 1 — Start with the roof, not the gutter
Before you even look at gutter profiles, stand back and look at what the roof is doing. Gutters don’t exist on their own — they’re basically the “exit route” for your roof.
Ask these three roof questions
-
How much roof area is feeding each gutter run?
A small porch roof and a big main slope behave completely differently in heavy rain. -
Where does water naturally want to go?
Valleys, dormers, changes in pitch, and long unbroken slopes all concentrate water in predictable places. Those spots often need the most capacity (and the most sensible outlet placement). -
What happens when it absolutely hammers down?
Be honest. UK rainfall is not gentle, and sudden downpours are now a normal thing. Your design has to cope with “worst day”, not “most days”.
Practical tip: If you’re not sure which run is overloaded, look for staining, algae lines, or splash marks on the wall. They’re like little crime-scene clues.
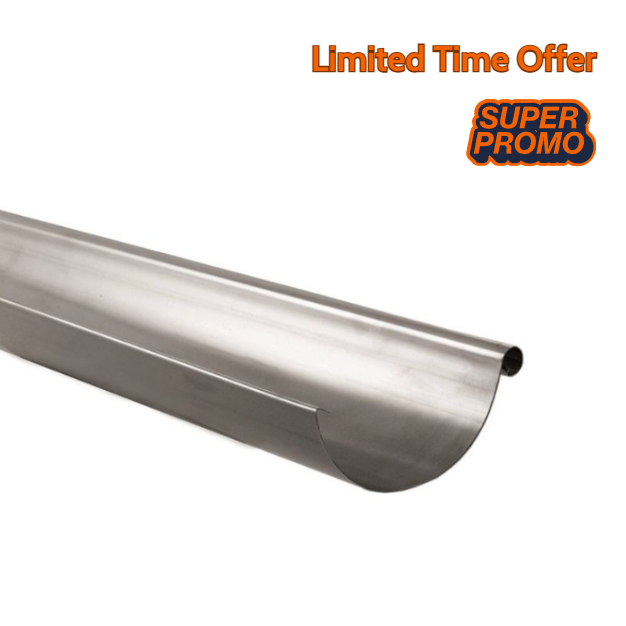
Step 2 — Choose your Lindab® gutter size based on performance
This is where people either nail it… or create a system that looks lovely and then spills water like a waterfall down the brickwork.
Lindab Rainline steel gutters typically come in commonly-used sizes (you’ll often see people deciding between sizes like 125mm vs 150mm for the gutter). The best choice depends on the roof’s demand and how far the water has to travel before it can escape.
The simplest way to think about gutter size
A gutter is basically doing two jobs:
-
catching water (front edge height and profile shape matter)
-
moving water to the outlet (capacity + fall + distance matter)
If your gutter is too small for the job, it doesn’t “slowly fail” — it fails on the wettest days, which is exactly when you notice it and exactly when water damage happens. Read more in our guide on how to measure Lindab guttering.
The trap of choosing based on looks
Some people choose a smaller gutter because it looks slimmer. I get it. But if it overflows, you’ll end up with:
-
stained render or brickwork
-
damp patches
-
soil washout near foundations
-
constant “why is it doing that?” frustration
A slightly larger system that actually works will always look better than a neat one that ruins the façade.
When going bigger can backfire
This is less common, but it does happen: oversizing without thinking can lead to:
-
water moving more slowly (more sediment settling)
-
poor “self-cleaning” behaviour in flatter runs
-
an over-bulky look on small elevations
So the goal isn’t “biggest possible”. The goal is appropriate capacity and sensible outlet planning.
Going bigger without really thinking it through can create its own set of problems. When a gutter is much larger than it needs to be, the water inside it tends to spread out and slow down, especially on flatter runs. Instead of flowing with a bit of purpose towards the outlet, it just ambles along.
When water moves more slowly, it doesn’t carry debris with it as well. Fine grit, silt and organic matter are more likely to settle rather than get washed away. Over time, that means the gutter needs cleaning more often, not less, which is usually the opposite of what people expect when they “upgrade” to a larger size.
There’s also the way it looks. On smaller roof areas or compact elevations, an oversized gutter can feel a bit heavy. Rather than sitting quietly along the roofline, it starts to draw attention to itself, and not always in a good way. It’s one of those things you might not notice on day one, but once you do, it’s hard to unsee.
That’s why the aim isn’t to install the biggest gutter you can. It’s to choose a size that suits the roof and then make sure the outlets are positioned so water can get away easily. When those two decisions are made together, the system drains cleanly, stays drier between rain, and just works — without looking overdone.

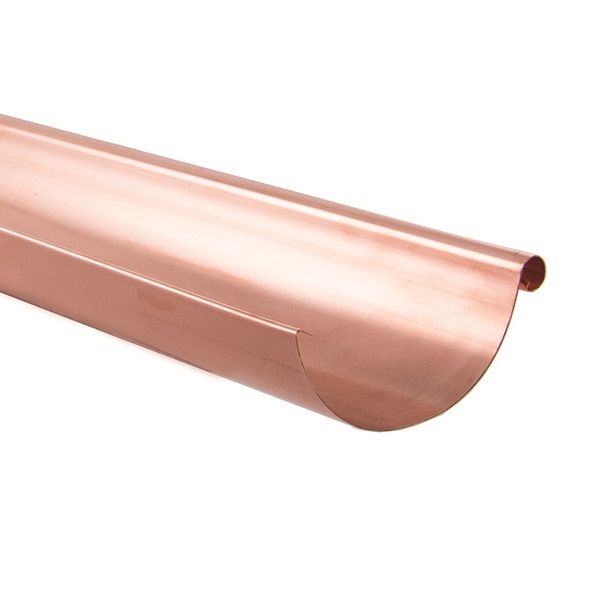
Lindab Copper Guttering
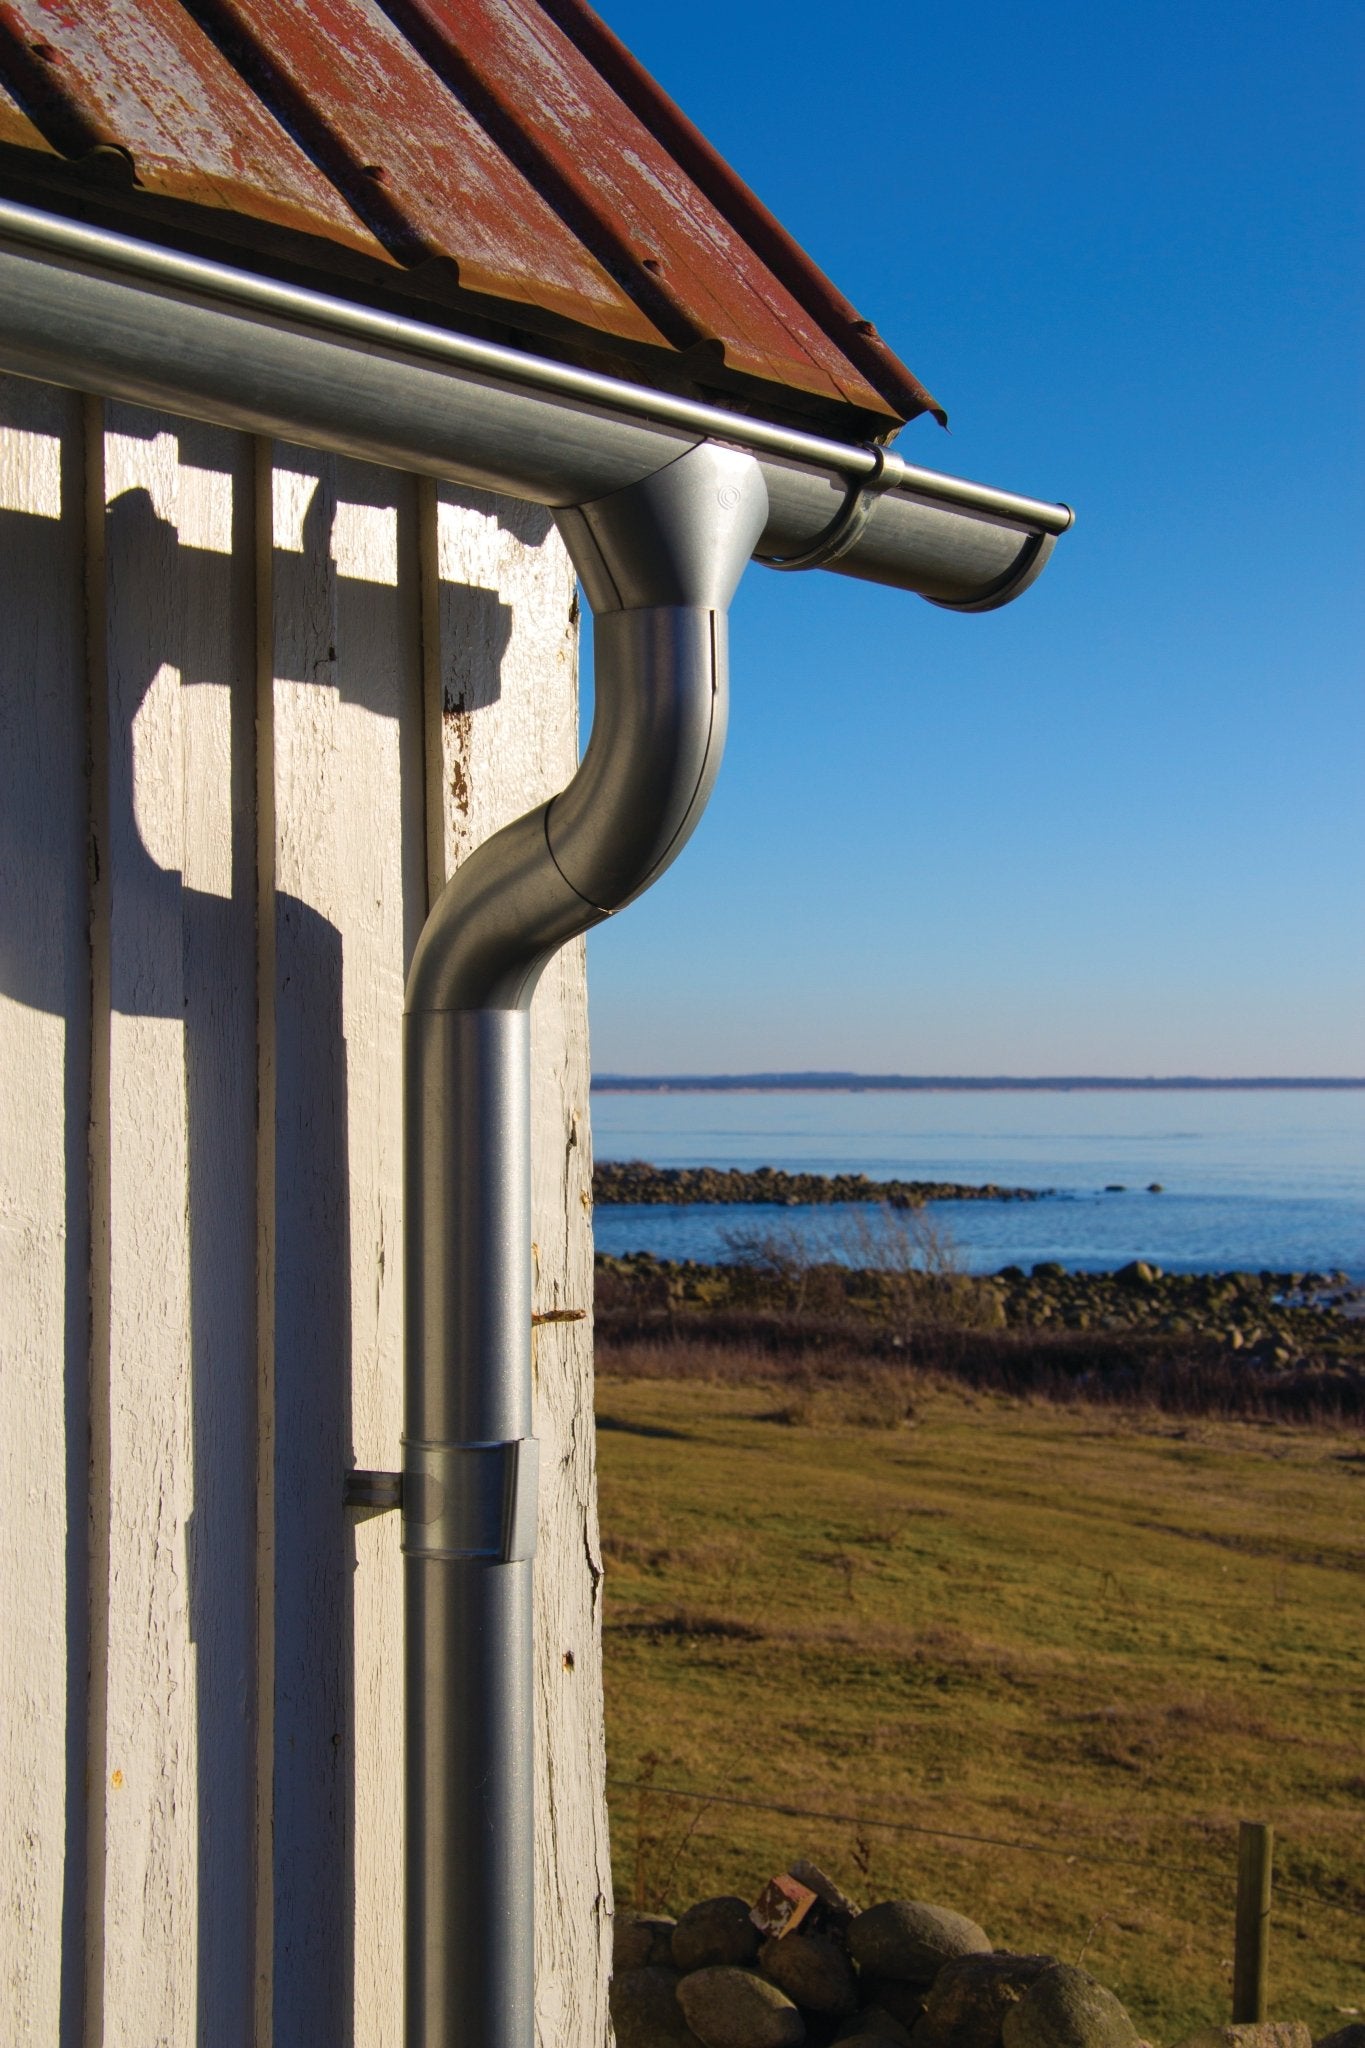
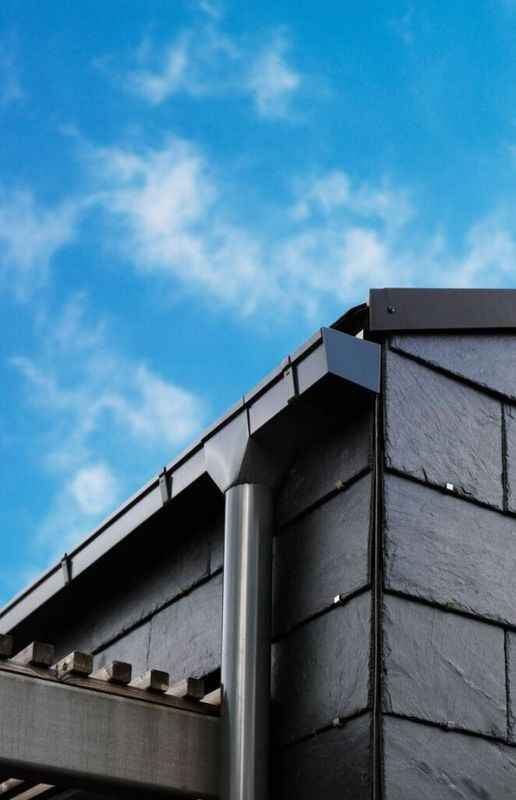
Step 3 — Decide your outlet strategy (this is where systems win or lose)
If gutters are the “catchment”, outlets and downpipes are the “drainage”. And here’s the uncomfortable fact:
You can fit a decent-sized gutter and still overflow if you choke it with a poor outlet/downpipe plan.

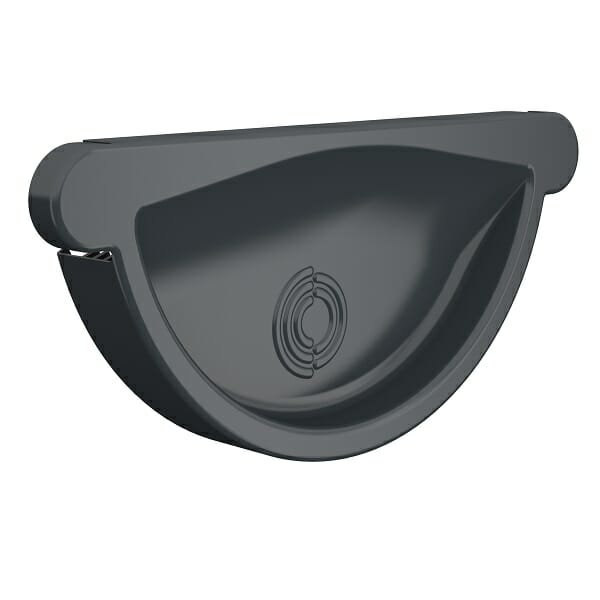
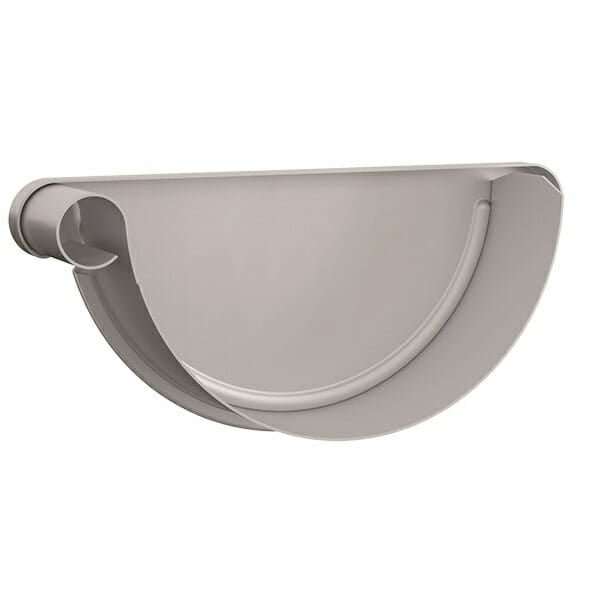
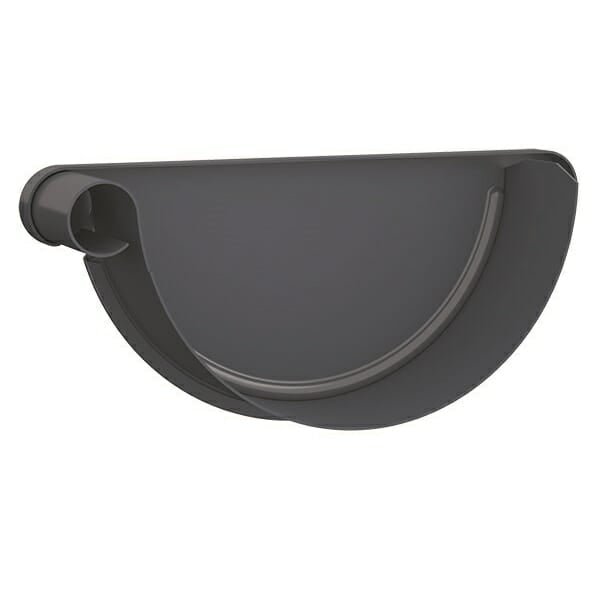
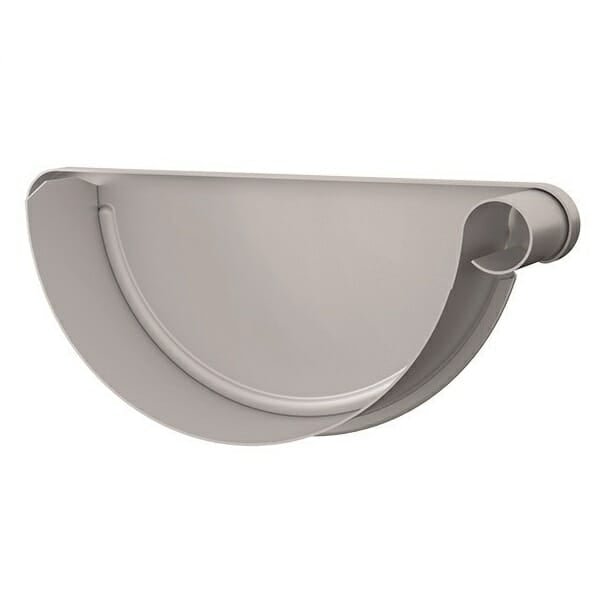
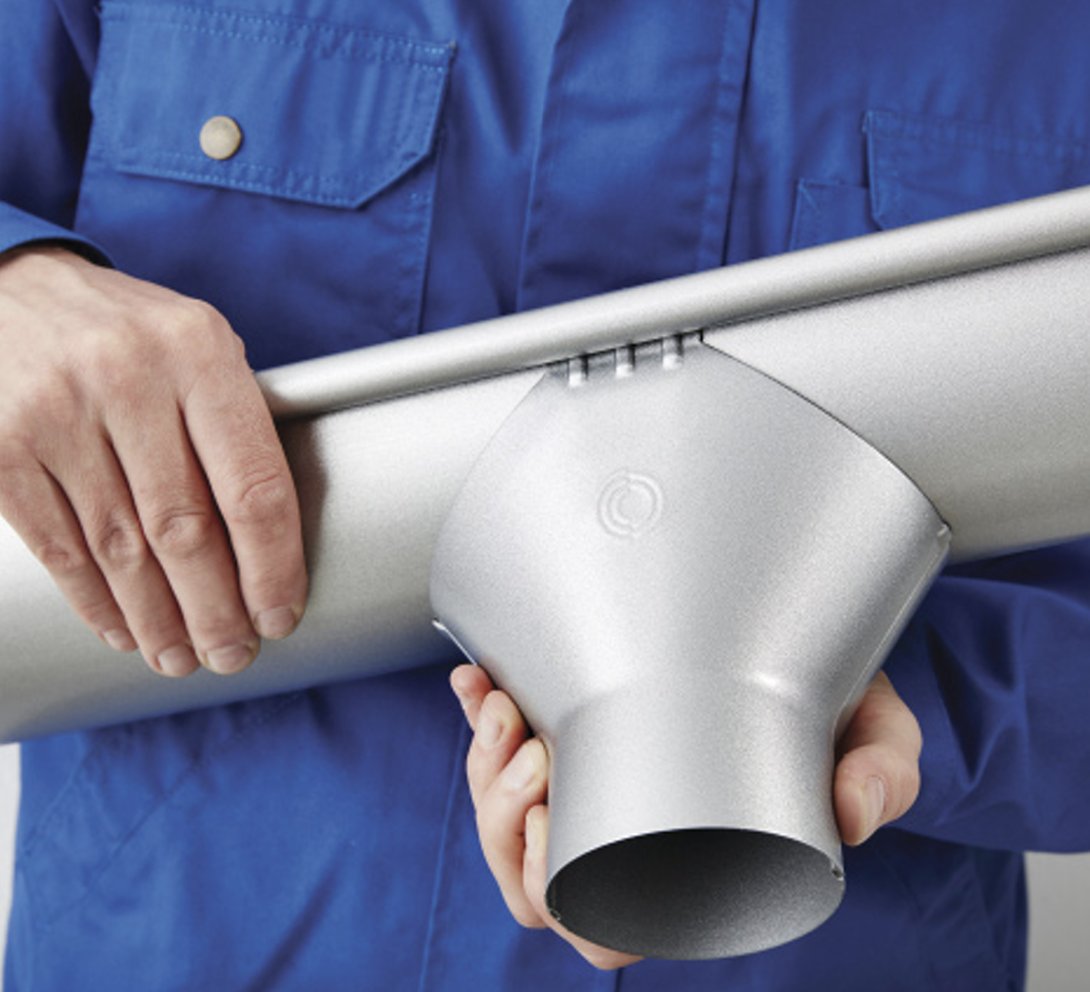
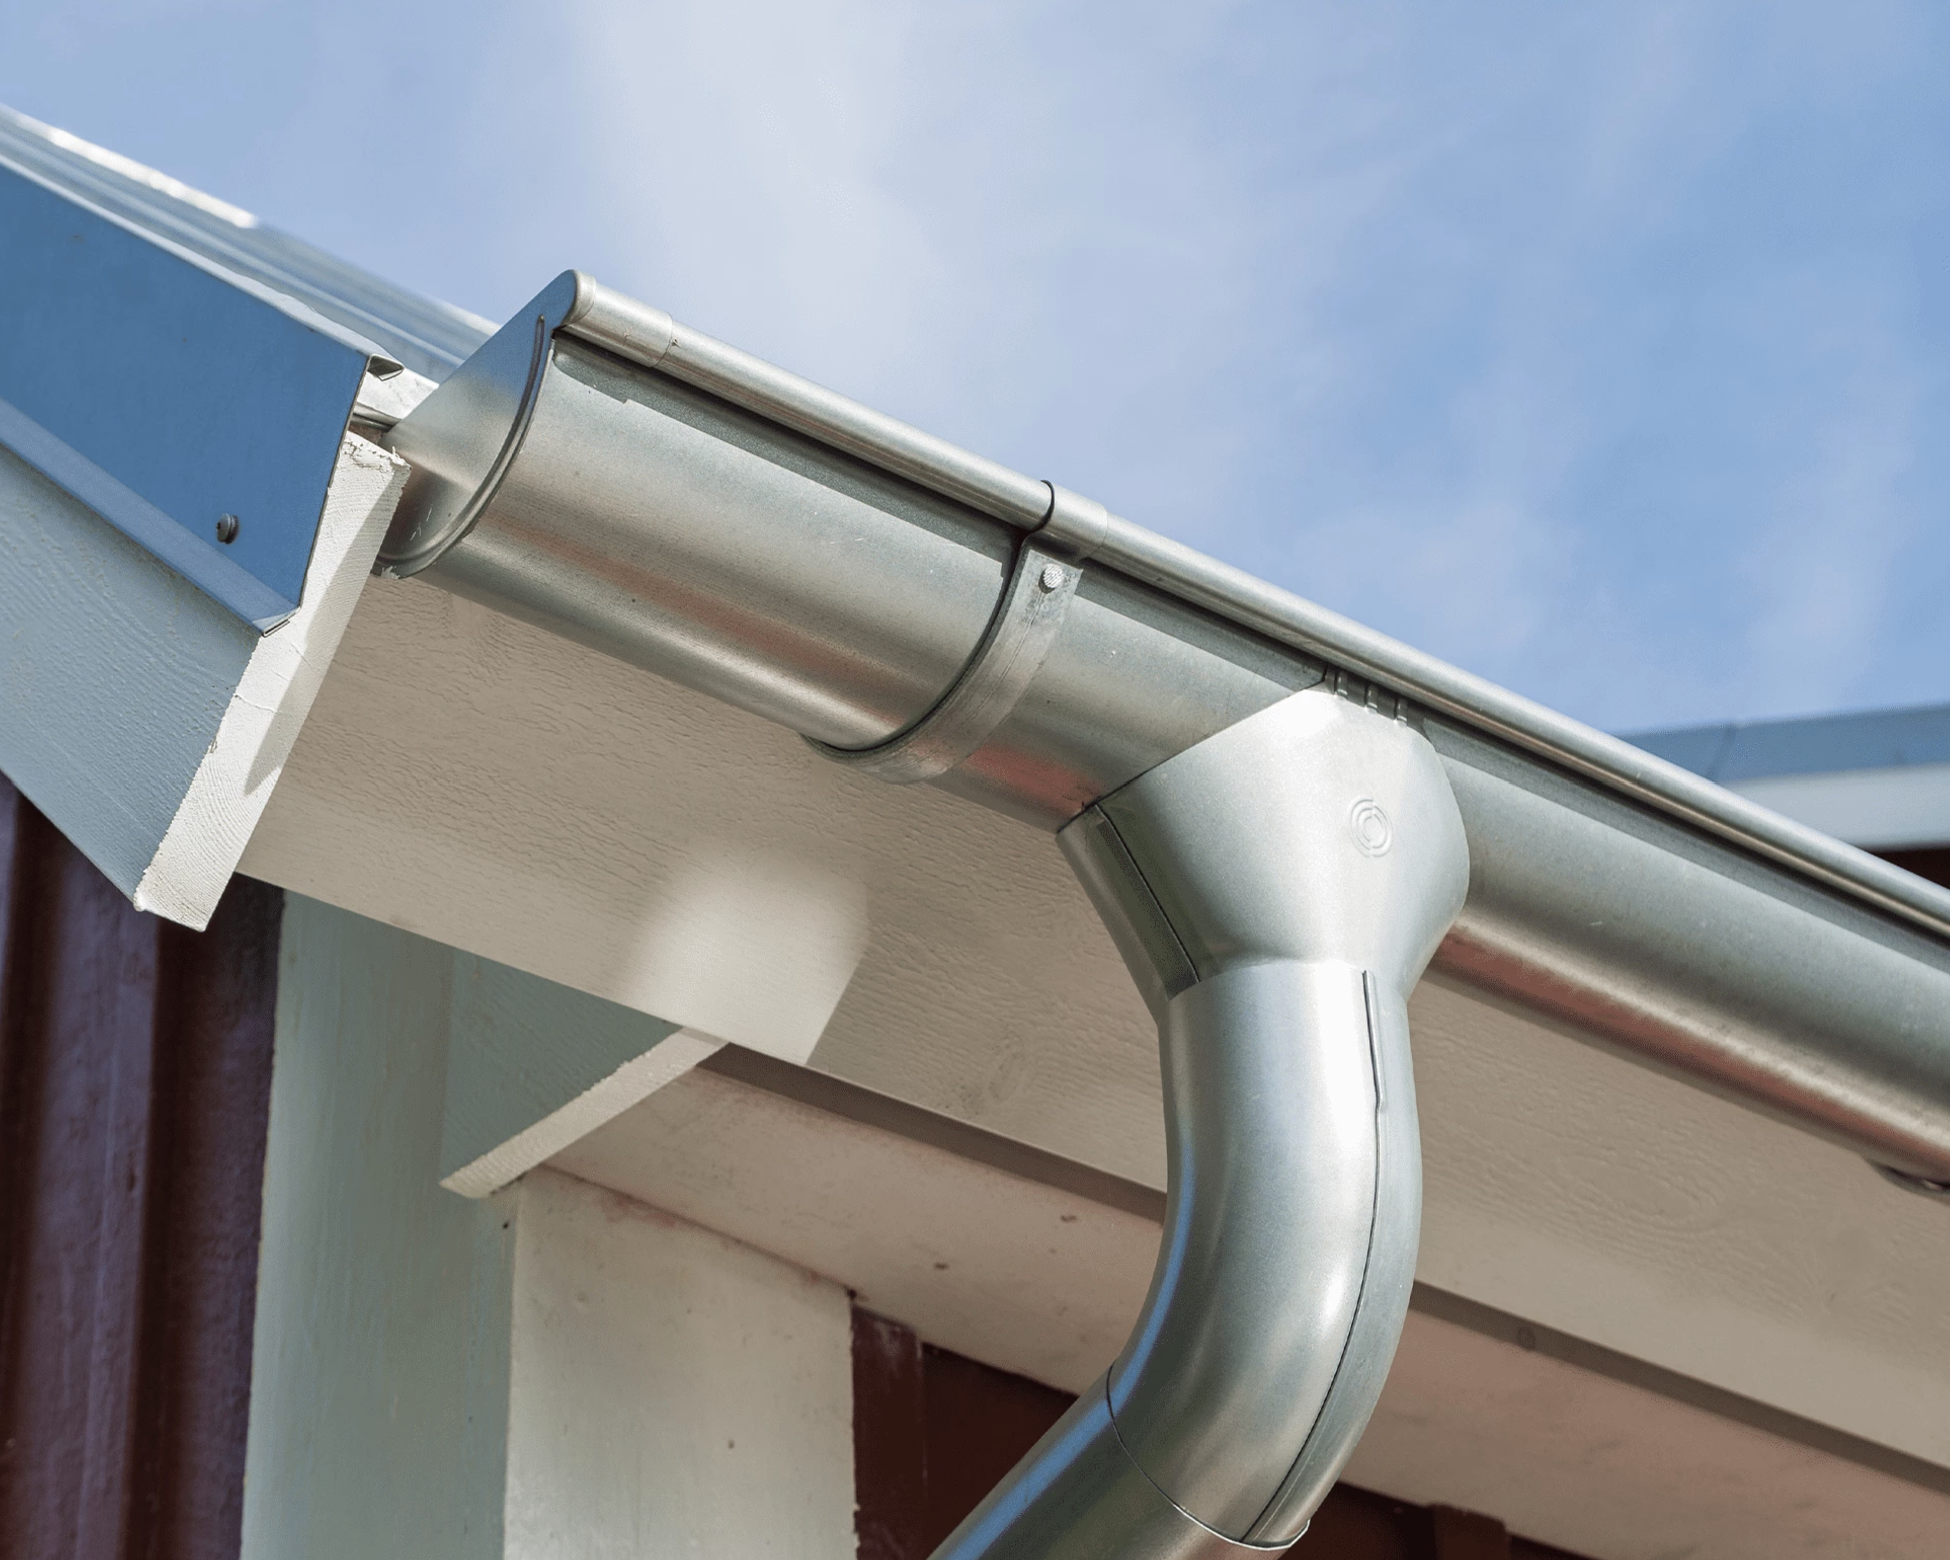
This customer image shows the Lindab gutter outlet.
One long run + one outlet is often the silent problem
A long run that relies on a single outlet at one end can work… until it doesn’t.
What changes the game is:
-
how heavy the rainfall is
-
how long the water has to travel
-
whether there are corners/angles slowing flow
-
whether leaves gather near that one outlet
A more resilient approach
For longer runs, it’s often smarter to:
-
add a second outlet (or re-position the outlet)
-
reduce travel distance for water
-
create a layout that keeps flow predictable
This isn’t about making the system complicated. It’s about designing it so one blockage doesn’t turn the whole run into an overflowing bath.
Where outlets usually work best
Outlets tend to work better when they’re placed:
-
near natural low points
-
away from the “leaf factory” (overhanging trees)
-
where a downpipe can drop cleanly without awkward offsets
If you’re designing from scratch, aim for clean, calm routes down the wall. When you start forcing the downpipe around obstacles, you create more joints and more future maintenance points.
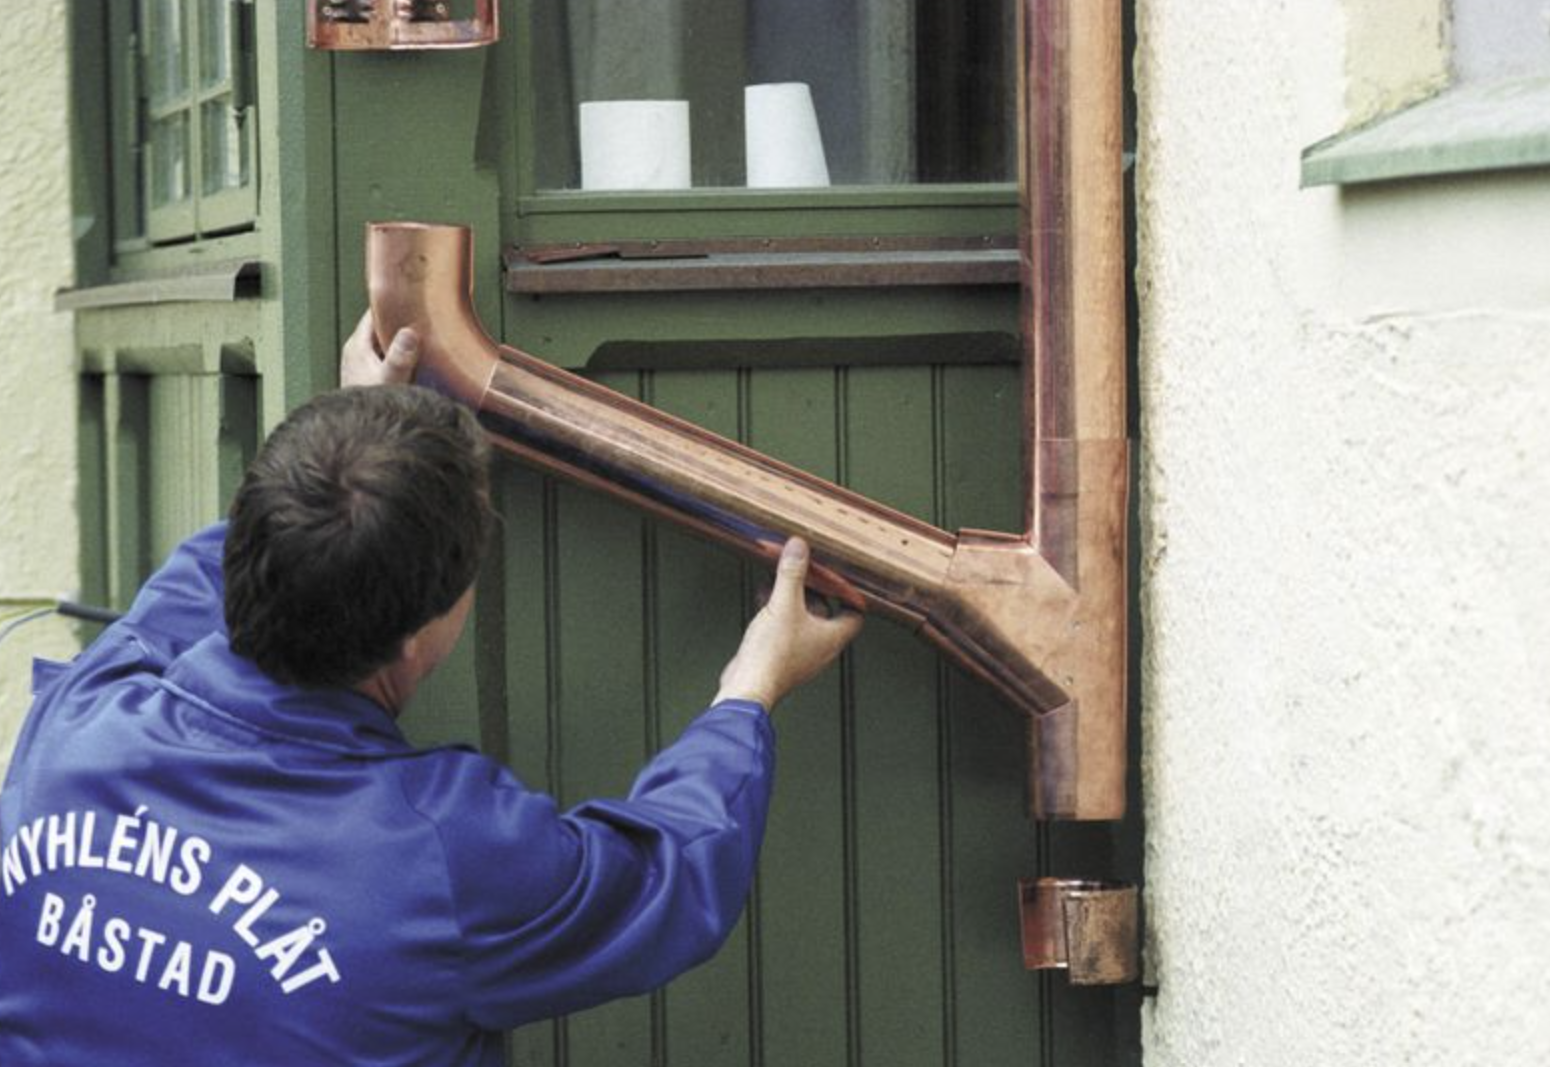
Step 4 — Choose your downpipes properly (don’t treat them as decorative)
Lindab Downpipes are easy to overlook because they feel like the boring vertical bit.
But they control how quickly water leaves the system — and they decide whether outlets back up.
Downpipe size must match the job, not just the look
A downpipe that looks “nice and slim” can become the bottleneck. The gutter fills, the outlet can’t drain fast enough, and you get overflow at the front edge.
You’re aiming for:
-
sufficient diameter/capacity for the roof feeding it
-
minimal sharp bends
-
sensible discharge at ground level
Plan offsets and swan necks early
Offsets (those little jogs in the pipe) and swan necks aren’t automatically bad. Sometimes they’re unavoidable.
But they should be planned before ordering so you don’t end up with:
-
awkward alignment at the outlet
-
strain on joints
-
a pipe that looks like it’s “trying to escape the wall”
A clean-looking downpipe is usually a sign the system has been thought through, not fought through.
Ground discharge isn’t an afterthought
Ask: Where is the water going at the bottom?
-
Into a gully?
-
Into a soakaway?
-
Into a drain connection?
-
Onto a splash block?
This matters because poor discharge causes splashback, damp at low level, and (in winter) icy patches.
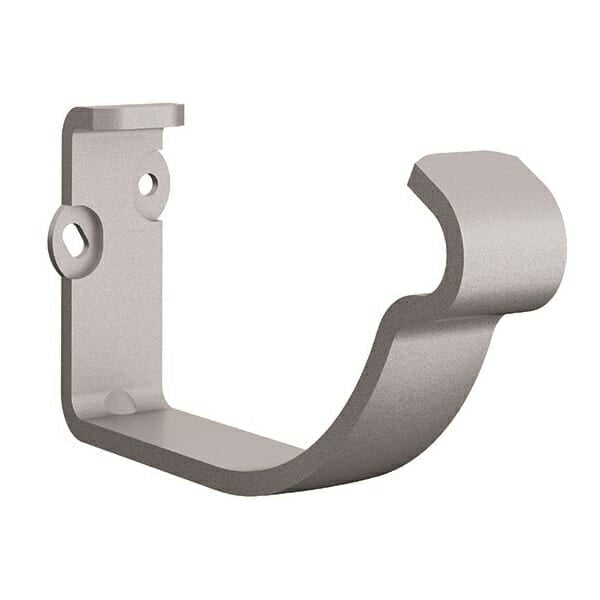
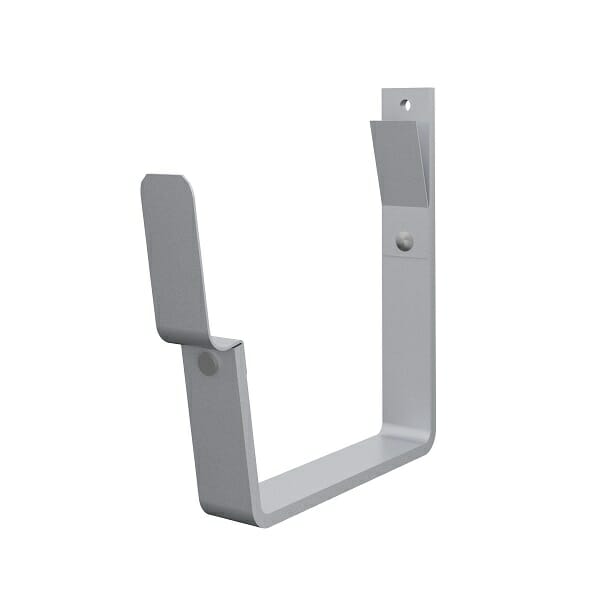
Step 5 — Choose brackets and fixings based on your building, not guesswork
This is one of the most under-discussed parts of choosing Lindab guttering, and it’s where installs become either rock-solid or a bit… wobbly.

Identify what you’re fixing to
-
Sound fascia board (ideal)
-
Old fascia with dips/twists (needs compensation)
-
Rafter ends (often requires a different bracket approach)
-
Masonry (more specialist, more measurement-sensitive)
Your bracket choice isn’t just a “fitting detail”. It affects:
-
the line of the gutter
-
the fall (slope)
-
how much sag develops over time
Bracket spacing isn’t just about holding the gutter up
Water is heavy. Wet leaves are heavier. And a gutter run with poor spacing ends up with tiny sags that become standing-water zones. Standing water is where:
-
grime settles
-
corrosion risk increases over time
-
joints stay wet longer than they should
Even a premium steel system won’t perform at its best if it’s sagging in the middle like a tired hammock.
When brackets are spaced too far apart, the gutter doesn’t usually fail in an obvious way. Instead, it develops small, almost unnoticeable sags along the run. Those slight dips are enough to let water sit rather than flow, especially after rainfall has eased. And once water starts lingering, problems follow naturally.
Standing water is where grime settles instead of being washed away. It’s where joints stay damp longer than they should, and where long-term corrosion risk quietly increases. None of this happens overnight, which is why it’s so often overlooked at installation stage.
Don’t ignore the fall
A consistent fall makes the system drain. Without it, you’ll see slow flow, pooling, and more frequent debris build-up. The trick is keeping the fall subtle enough that it doesn’t look odd, while still giving water a clear route to the outlet.
Step 6 — Pick the colour and finish like someone who plans to live with it
Colour choice feels fun. It’s also where regret creeps in six months later.
Match the colour to what you actually notice on a house
Most people notice:
-
roof edge line
-
window frames
-
fascia/soffits
-
brickwork or render tone
Try to match to one of those anchors rather than picking a colour in isolation. A gutter colour that “sort of matches nothing” is what makes a system look like an add-on. We produced a helpful guide on matching your colouring.

The above image shows all of the colours available in the Lindab rainwater range.
Real-life finish behaviour (the bit brochures don’t tell you)
-
Darker colours often hide minor dents, marks and general grime better.
-
Lighter colours can look crisp, but show dirt and streaking sooner.
-
Coastal/industrial areas are harsher environments. Salt air and pollution don’t ask permission.
And yes, scratches can happen during install. The important bit is: if you expose bare steel, you handle it properly (touch-up), rather than pretending it’ll be fine forever.
Don’t forget the “view from the street”
A lot of people choose colour based on standing under the gutter. But the gutter is usually seen from:
-
across the road
-
the garden
-
the driveway
That wider view is what matters

Step 7 — Plan the full layout before you order a single part
This is the moment where you stop thinking “shopping list” and start thinking “system”.
Draw it (even a rough sketch)
You want a simple sketch showing:
-
each straight run
-
each internal/external angle
-
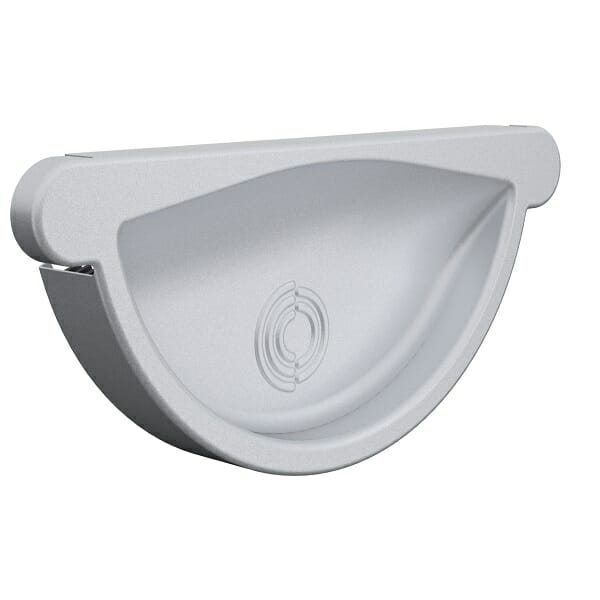
each stop end
-
each outlet position
-
each downpipe route to ground
It doesn’t need to be pretty. It just needs to be accurate. We've also produced a BIM modelling guide if you are stuck.
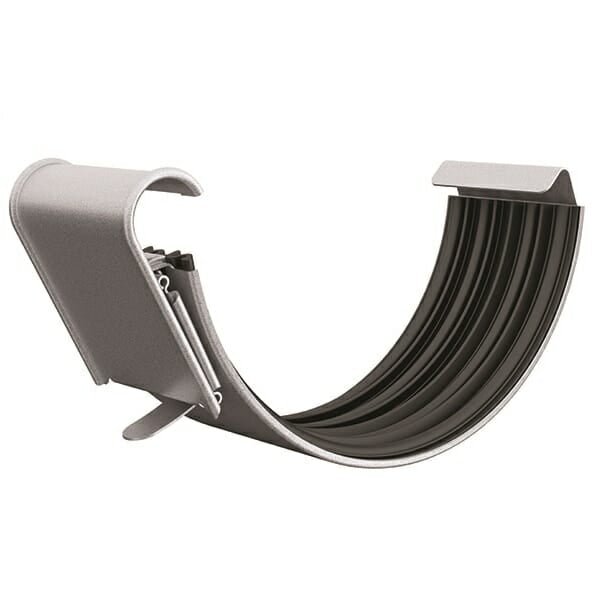
Aim to minimise joints and awkward transitions
Every Lindab joint is a potential maintenance point. That doesn’t mean “fear joints”. It means you design so joints are:
-
sensible
-
accessible
-
not crammed into weird corners where water and debris collect
Think ahead to cleaning and access
If you can’t safely access a run, you won’t maintain it properly. And if you don’t maintain it, even the best system gets blamed for problems that are really just blocked outlets.
Step 8 — The pre-order checklist (this saves money)
Before you place an order, tick these off:
Measurements & mapping
-
Total length of each run (and number of runs)
-
Count of internal angles and external angles
-
Stop ends (left/right) identified
-
Outlet positions decided (and count confirmed)
-
Downpipe routes planned to ground discharge
Compatibility & fixing
-
Bracket type chosen for your fixing surface
-
Fascia/rafter condition checked (any dips, rot, unevenness)
-
You’ve decided how you’ll set fall across each run
Practical realities
-
Access method confirmed (ladders vs scaffold vs tower)
-
Tools available for clean cutting and safe handling
-
Colour choice checked against roof/windows/brickwork in daylight
If any of these are “not sure”, pause. That’s not me being dramatic — it’s just cheaper to pause than to reorder.
Common “looks fine on paper” mistakes (so you don’t make them)
Copying a neighbour’s system
Two houses can look similar and have totally different roof drainage demand because of:
-
extensions
-
pitch differences
-
valley positioning
-
roof area feeding each run
Borrow the aesthetic, not the drainage design.
Forgetting how water behaves at corners
Corners slow flow and gather debris. If your run has multiple corners, you often need a more thoughtful outlet strategy.
Planning downpipes last
This leads to ugly offsets, strained joints, and awkward routes. Plan downpipes early and the whole system looks intentional.
Quick reference table: what to prioritise when choosing Lindab®
| Decision | What you’re really deciding | What goes wrong if you guess |
|---|---|---|
| Gutter size | Capacity + ability to carry water to outlets | Overflow in heavy rain, staining, damp |
| Outlet positions | How quickly water can escape the run | Backing-up, spill-over at front edge |
| Downpipe size/route | Whether the system drains fast enough | Outlet bottlenecks, splashback, blockages |
| Brackets/fixings | Whether the gutter stays aligned and drains | Sagging, standing water, joint stress |
| Colour/finish | How the system looks after 2 winters | Regret, visible marks, mismatched façade |
Conclusion: Choose once, choose right
Lindab® steel gutters and downpipes are a brilliant option when they’re chosen like a system — not a pile of parts.
If you take nothing else away from this guide, take this:
size and layout decisions (gutters + outlets + downpipes) matter more than colour and cosmetics. Get the drainage right first, and everything else falls into place.
Next step idea: If you’re ordering for a real property and want to be 100% sure, build a short “parts plan” from your sketch and photos first.
It’s the fastest way to avoid the classic wrong-bracket / wrong-outlet / wrong-run mistakes.