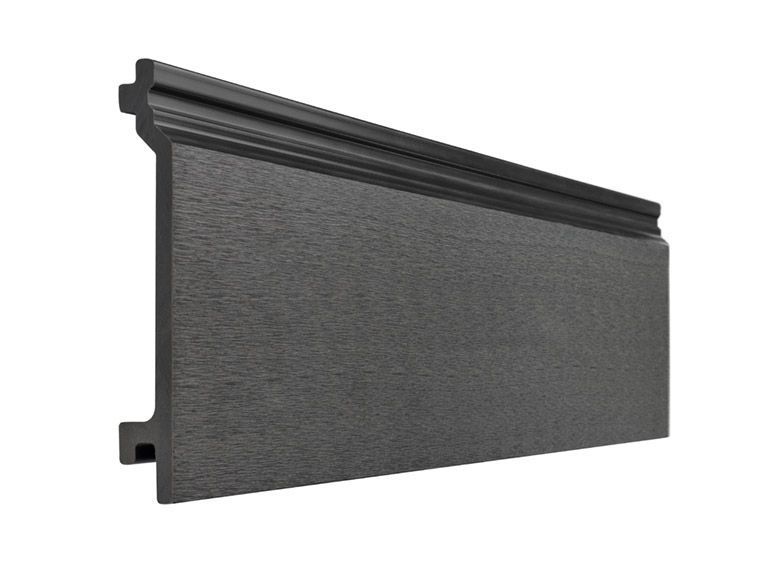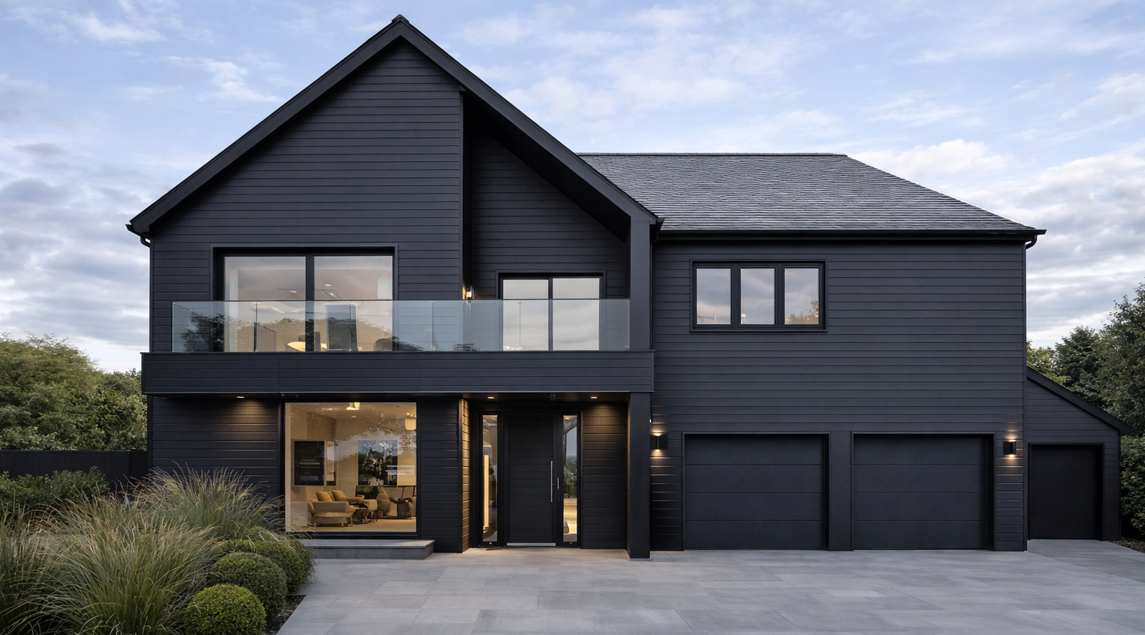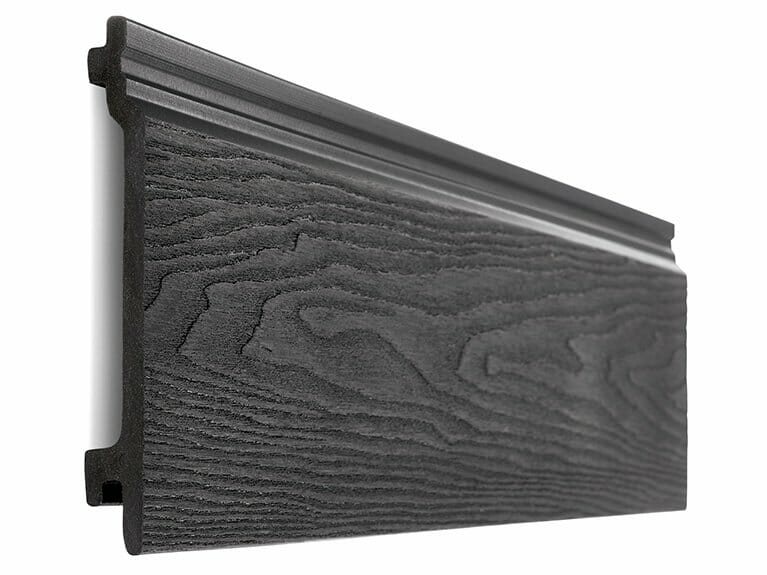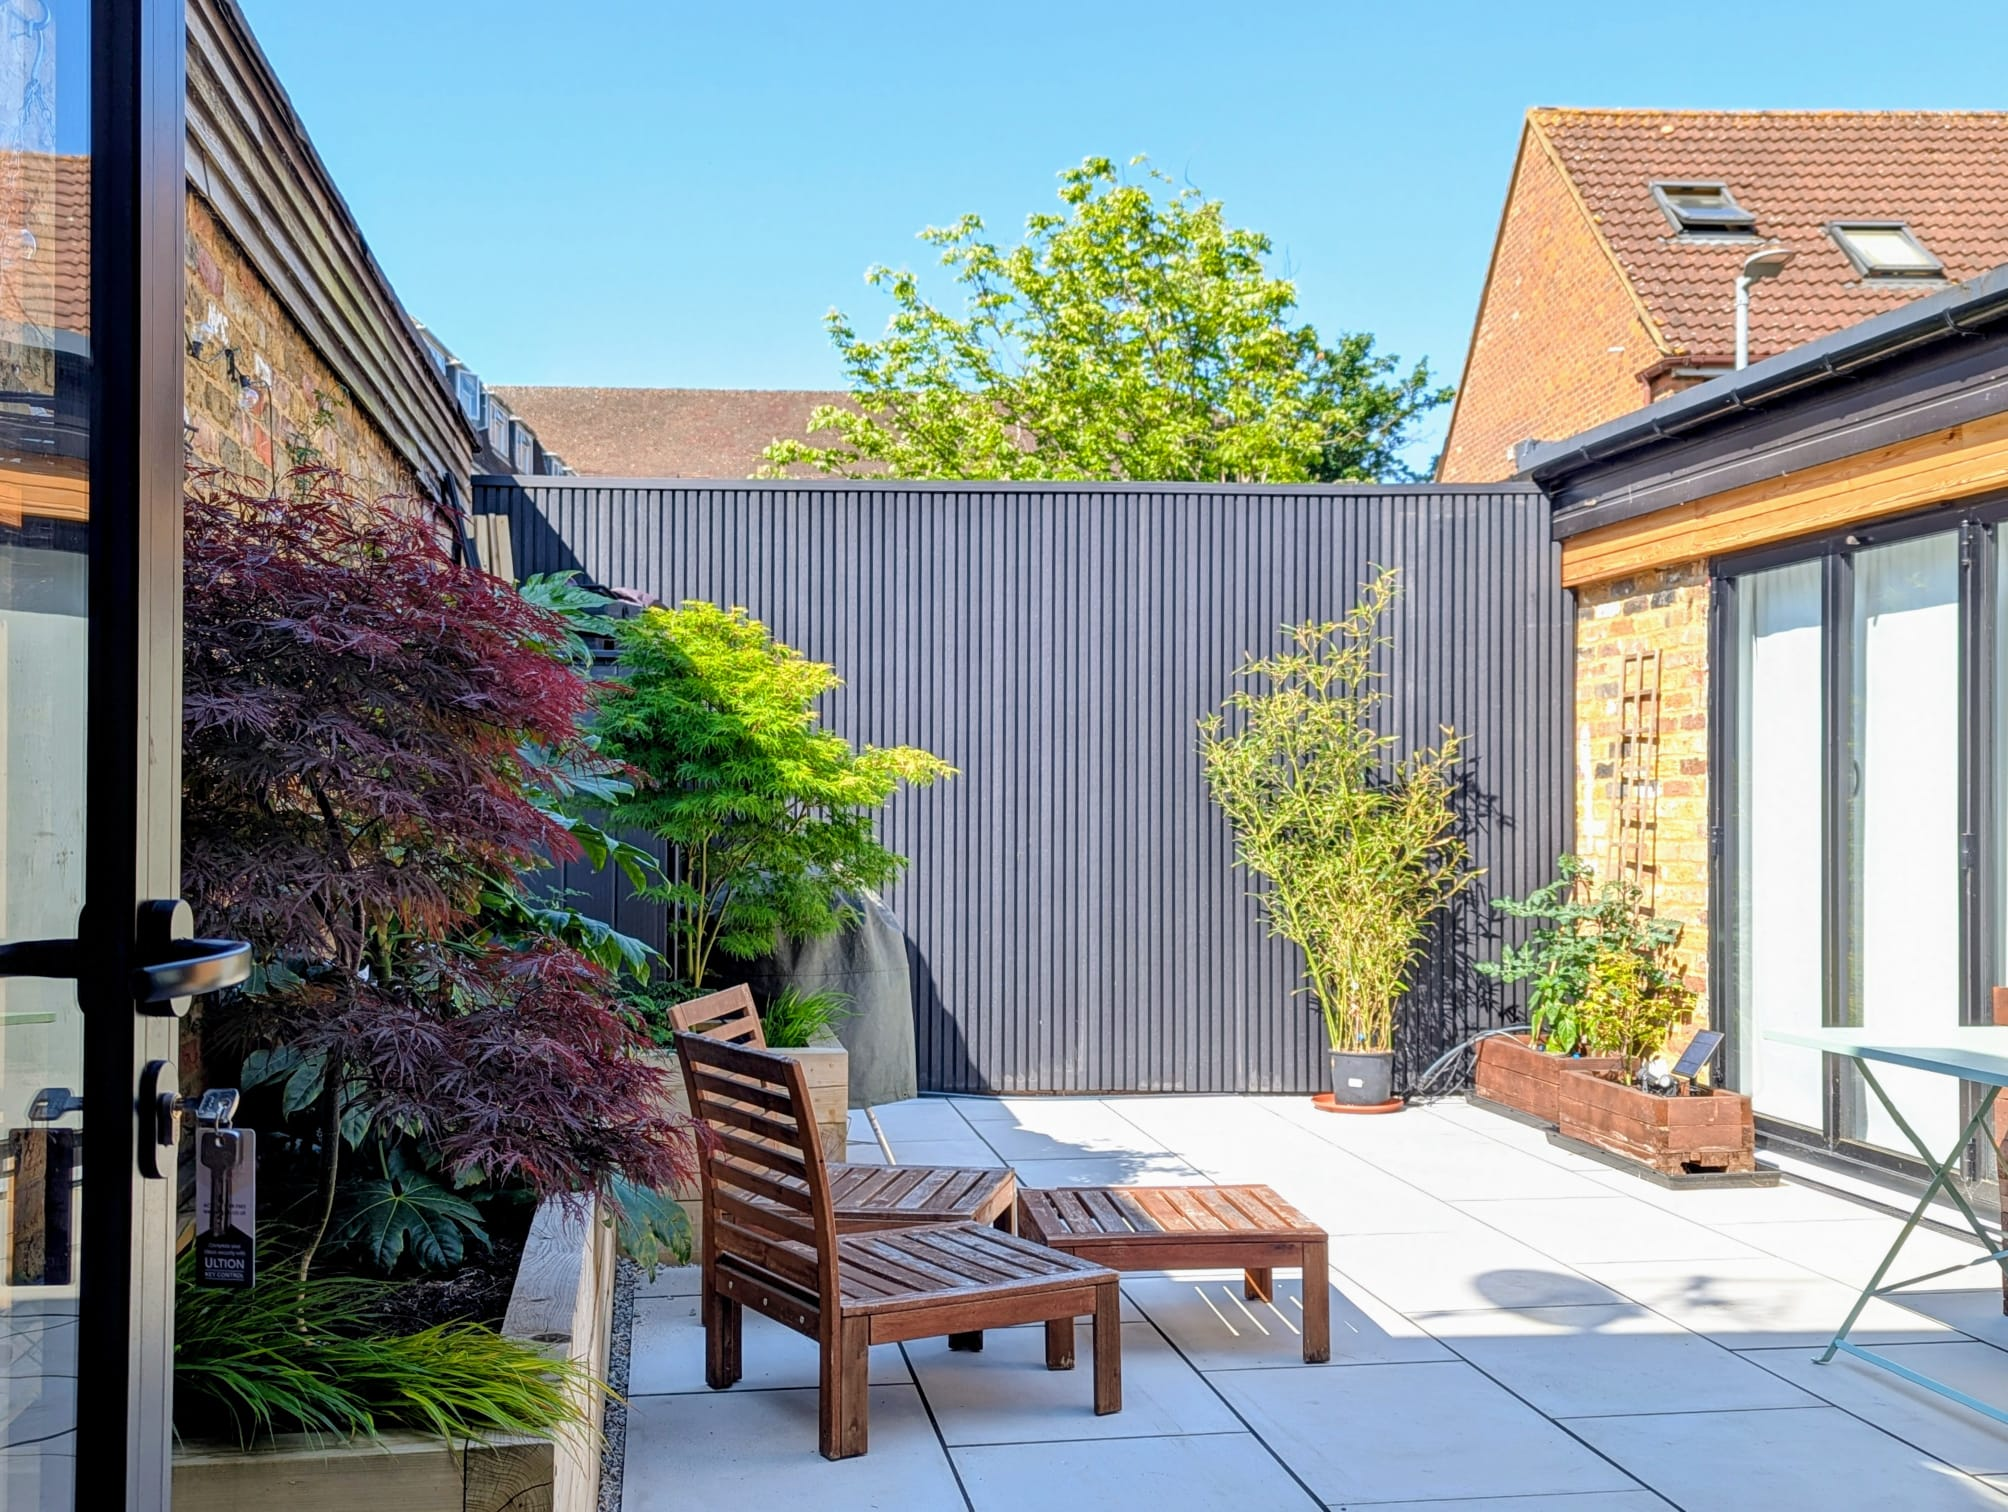
Installing composite cladding over brick is very doable - but it’s not something you want to rush or improvise. The cladding itself is forgiving, but the structure behind it isn’t. Most problems people run into later (warping, rattling, uneven lines) come down to how the battens were fixed, not the boards.
As a leading composite supplier, this guide walks through the process step by step, focusing on what actually matters when you’re fixing composite cladding to a solid brick wall.
First things first: you never fix composite cladding directly to brick
This is the most important rule.
Composite cladding must be installed on a batten framework, not screwed straight into masonry. Brick walls are rarely flat, and composite boards need airflow and room to move.
Fixing directly to brick leads to:
-
uneven lines
-
trapped moisture
-
movement issues
-
shortened lifespan
So before you think about boards, clips, or finishes, you need to think about the composite subframe.
Step 1: Check the brickwork properly
Before anything goes up, take a proper look at the wall.
You’re checking for:
-
loose or damaged bricks
-
crumbling mortar
-
damp issues
-
major unevenness
Composite cladding will hide a lot visually, but it won’t fix what’s going on underneath. If the brickwork has damp issues, loose mortar, or movement, those problems don’t disappear just because they’re out of sight.
Moisture can still track through, fixings can work loose over time, and any movement in the wall will eventually show itself in the cladding. Sorting those issues first might feel like an extra step, but it’s far easier than having to strip boards back later because something was covered up rather than dealt with. Otherwise, you’re not solving the problem — you’re just delaying it.
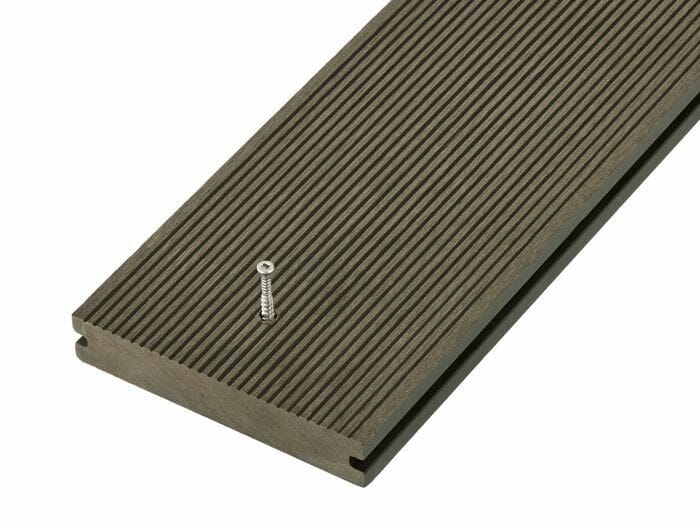
Step 2: Choose the right battens (this matters more than people think)
Battens create the fixing surface and airflow gap, so quality matters.
Most installs use:
-
treated timber battens (exterior grade)
-
or aluminium battens for a longer-life system
Timber is common and cost-effective, but it must be properly treated and straight. Twisted or poor-quality timber will telegraph straight through the cladding.
Battens are typically installed:
-
vertically for horizontal cladding
-
horizontally for vertical cladding
Spacing is usually around 400mm centres, but always follow the cladding manufacturer’s guidance.
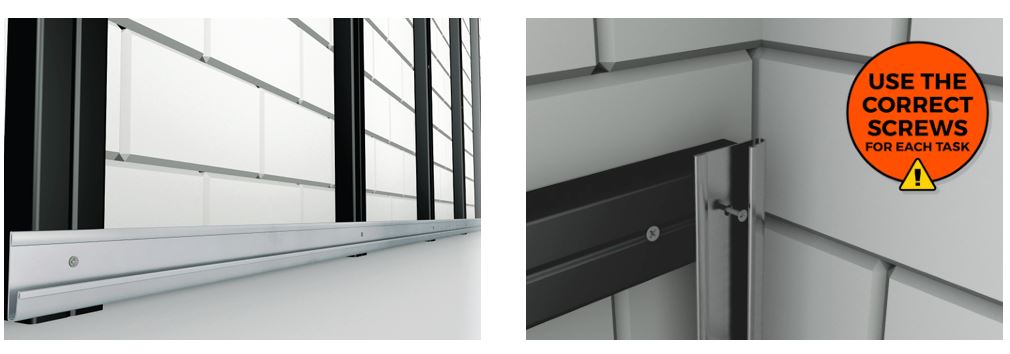
Step 3: Fix battens to brick correctly
This is where a lot of DIY installs fall down.
Use:
-
masonry drill bits
-
proper wall plugs or masonry anchors
-
corrosion-resistant fixings
Each batten should be:
-
packed out where needed
-
plumb and level
-
securely fixed at regular intervals
Don’t rely on the brickwork being flat — it rarely is. Take your time here. Getting the battens right makes everything else easier.
Step 4: Build in ventilation (don’t skip this)
Composite cladding needs airflow behind it. This helps with:
-
moisture management
-
temperature regulation
-
long-term stability
Leave:
-
a clear gap at the bottom of the cladding
-
ventilation at the top where possible
Insect mesh can be used to stop pests getting behind the boards while still allowing air to circulate.
This is also a good point to think about thermal movement, something covered in more detail in your other composite cladding guides.
Step 5: Plan your layout before fixing boards
Before you install a single board:
-
decide your starting point
-
check where boards will finish at corners and openings
-
dry-fit a few boards if needed
Composite boards are consistent, but walls aren’t. Planning helps you avoid thin cuts or awkward finishes at the end.
If you’re cutting boards, this is where your “how to cut composite cladding” guide links in naturally — clean cuts matter for visible edges.
Step 6: Fix the starter board carefully
The first board sets the tone for everything else.
Make sure it is:
-
perfectly level
-
fixed according to the system (clips or screws)
-
correctly spaced off the ground
If the first board is even slightly out of level, every board above it will follow that mistake. Composite cladding doesn’t hide errors the way some materials do — the straight lines and consistent profiles actually make misalignment more obvious as you build up the wall. Consider buying the composite starter strip to keep everything level.
What starts as a few millimetres at the bottom can turn into a visible taper or uneven line by the time you reach the top. It’s one of those things you might think you can “correct as you go”, but in reality the system just amplifies the problem. Spending extra time getting that first board perfectly level saves you a lot of frustration later and is one of the biggest factors in whether the finished wall looks sharp or slightly off.
Step 7: Fix the rest of the boards (slow and steady)
As you work up the wall:
-
follow the recommended fixing method
-
allow expansion gaps where specified
-
don’t overtighten fixings
Composite cladding expands and contracts as temperatures change, sometimes more than people expect. If boards are forced tight together or fixed too rigidly, they have nowhere to move when the weather warms up or cools down. Over time, that stress shows itself as bowing, rippling, or boards pushing against each other in ways that look messy and are hard to fix once everything’s installed.
This is why leaving the recommended expansion gaps and following the fixing guidance properly really matters. Understanding how composite behaves — something you’ve already covered in your other cladding guides — helps you avoid those slow-burn problems that don’t appear straight away but gradually spoil what should have been a clean, flat finish.
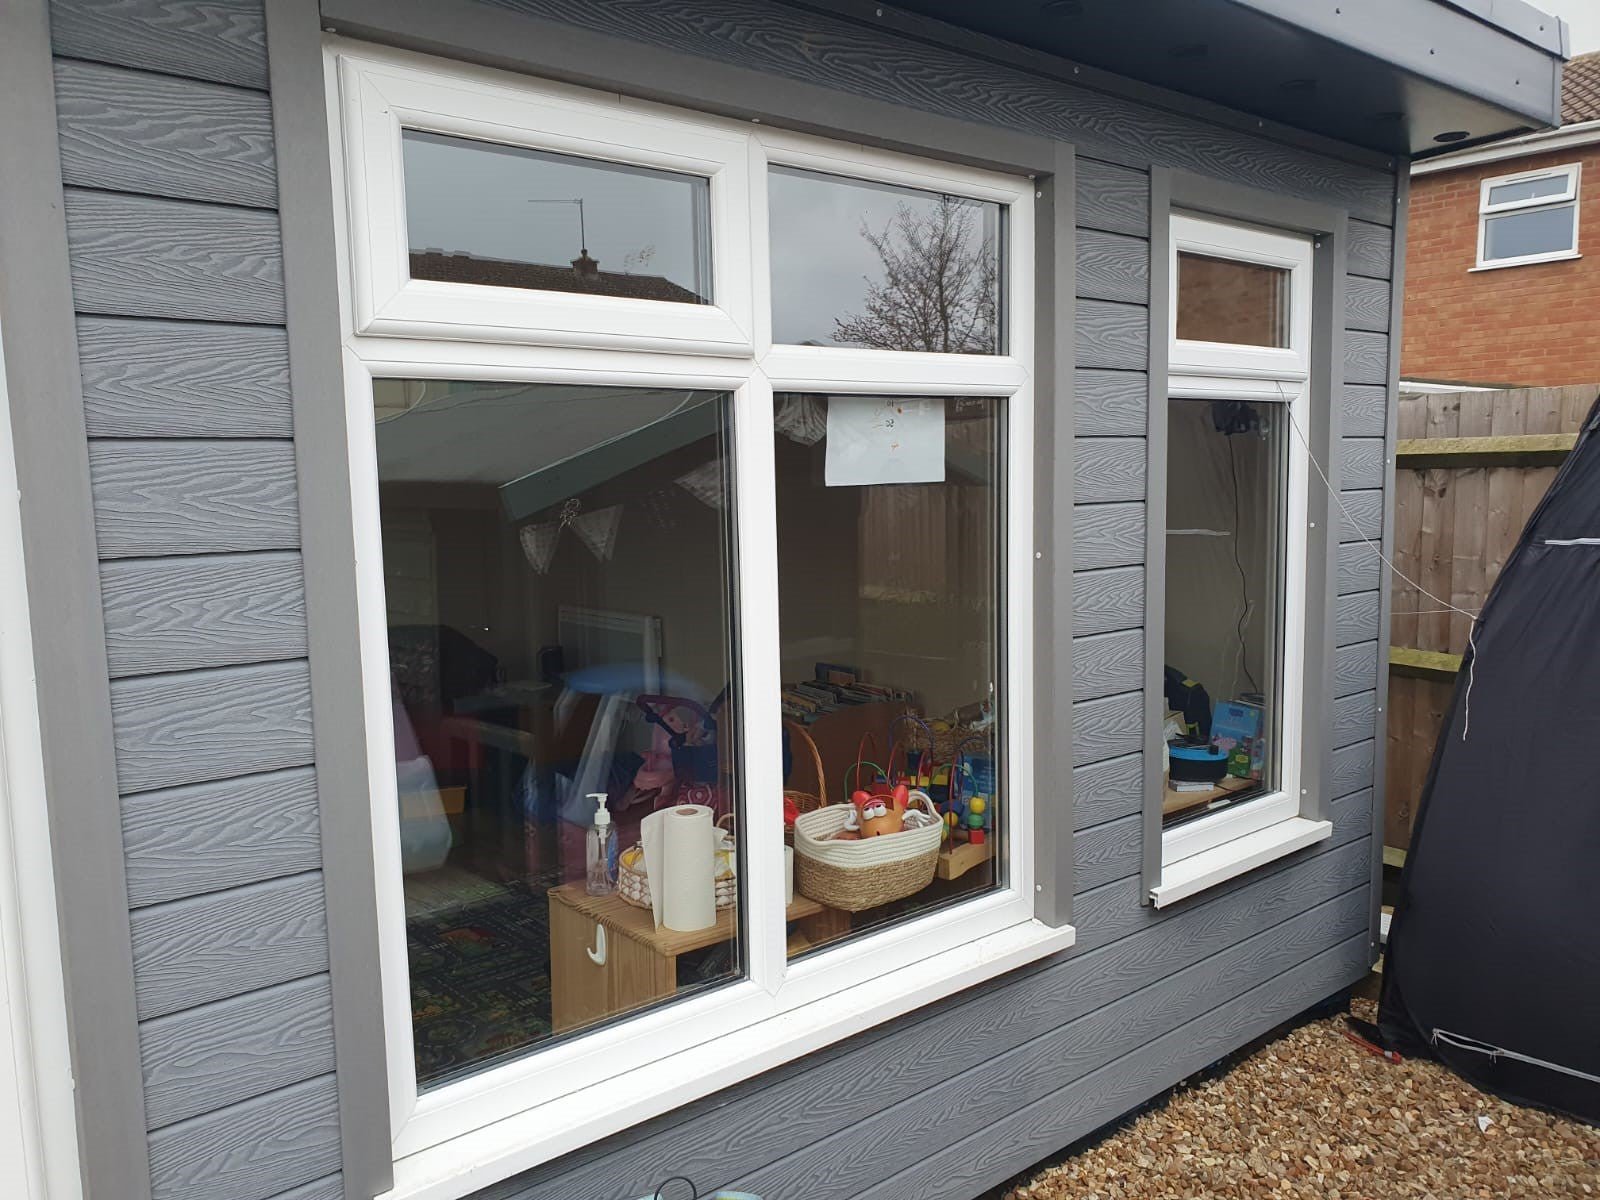
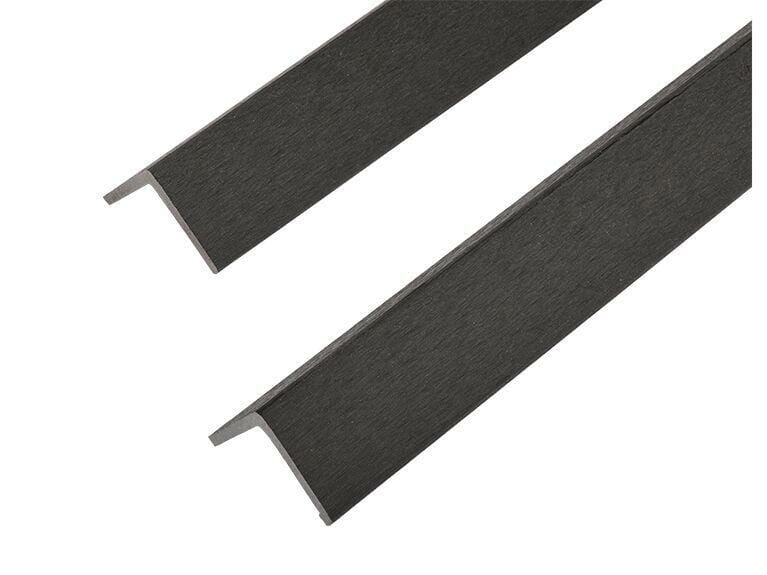
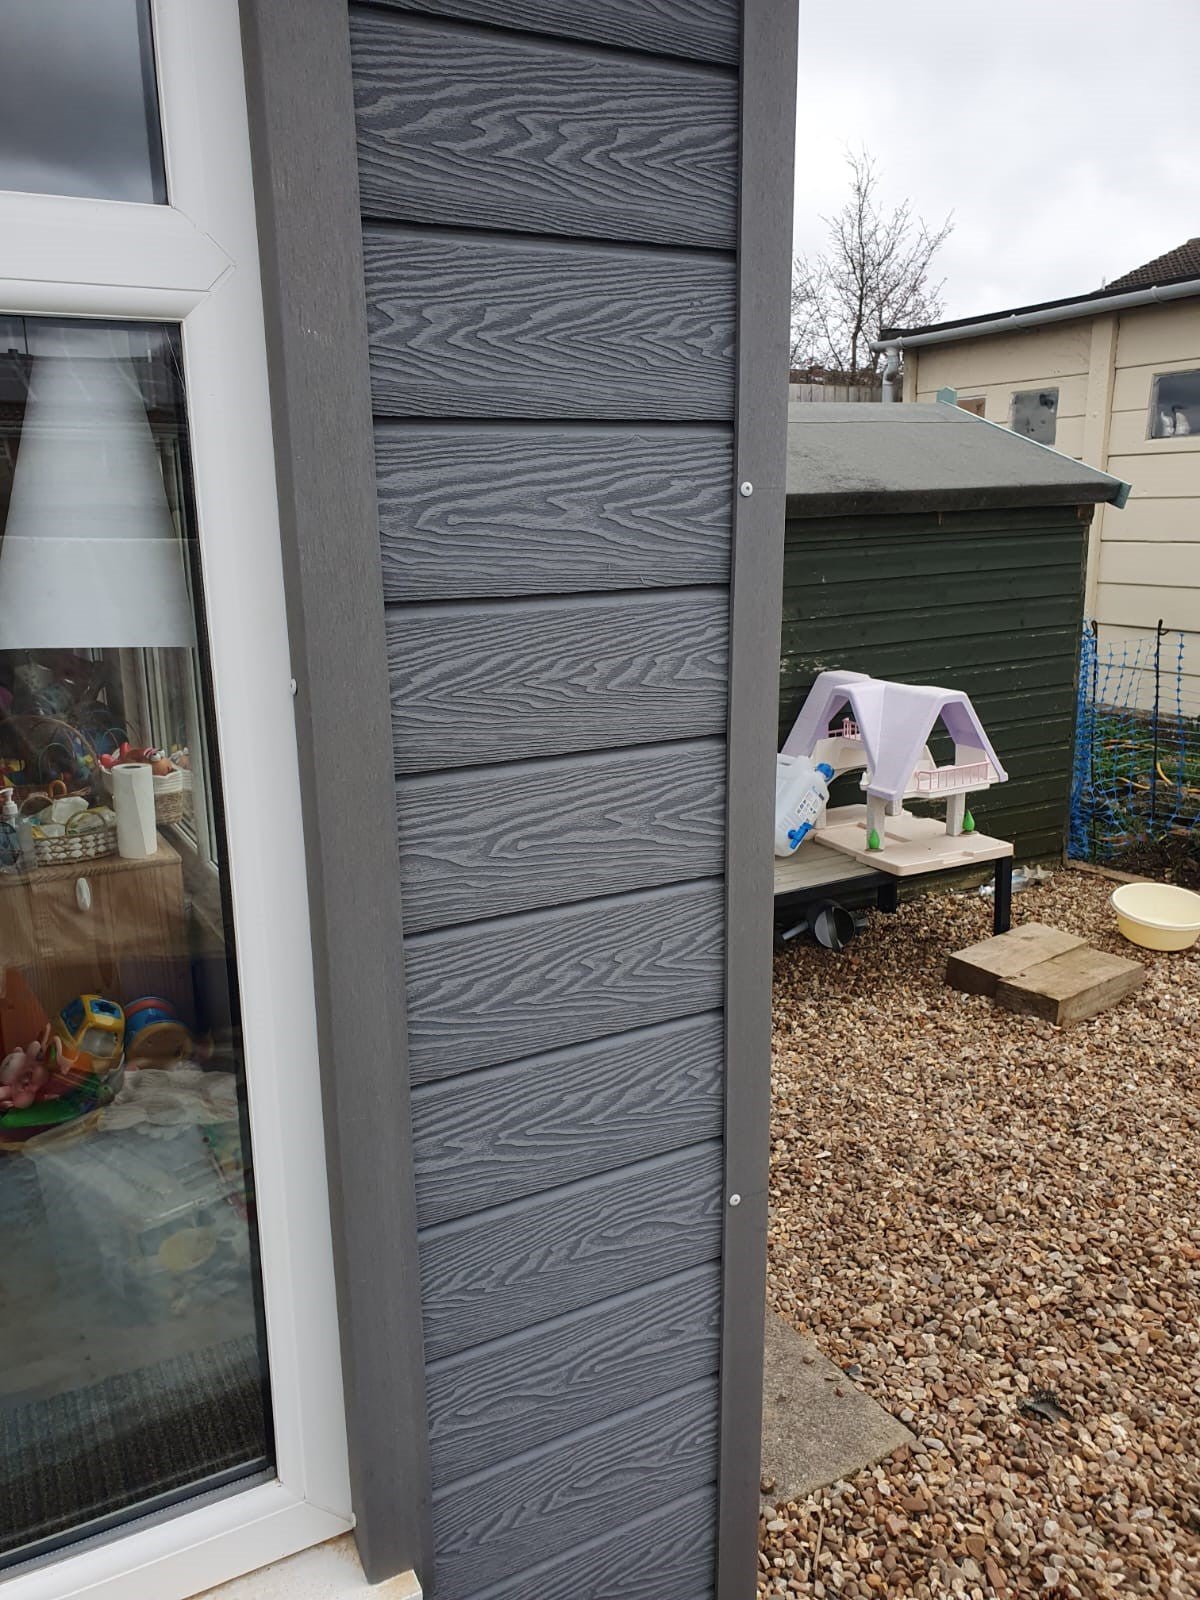
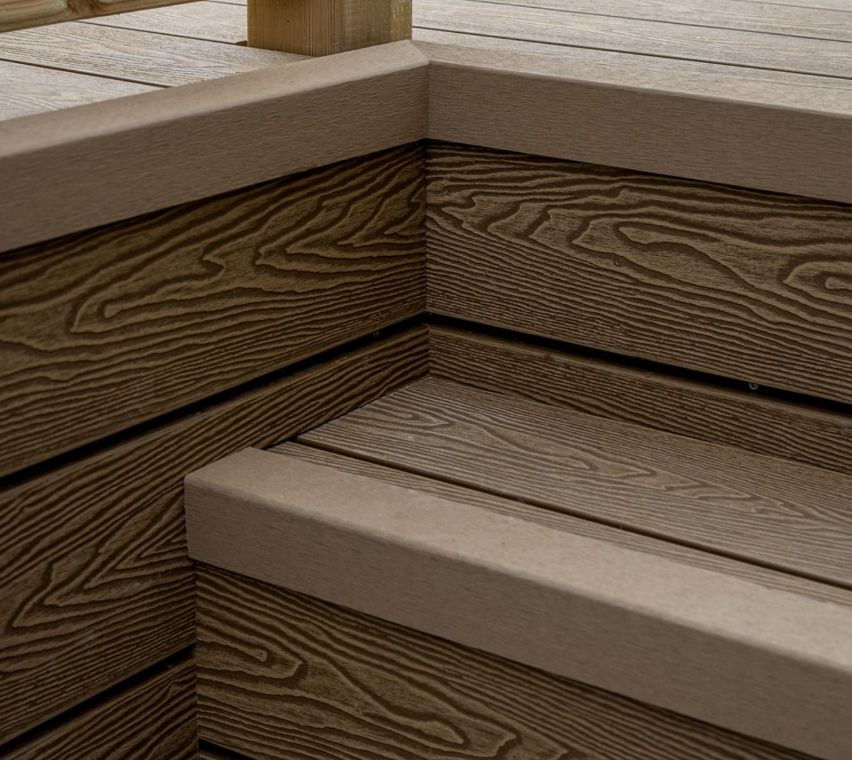
Step 8: Finishing edges, corners and openings
Edges and corners are what make an install look professional.
Most systems use:
-
matching trims
-
corner profiles
-
end caps
Take extra care around:
-
windows
-
doors
-
external corners
Rushed finishing is the difference between “that looks alright” and “that looks properly done”.
Common mistakes to avoid (learned the hard way)
These come up again and again:
-
fixing battens without checking level
-
using untreated timber
-
ignoring ventilation gaps
-
overtightening fixings
-
not allowing for expansion
-
starting without planning board layout
None of these are dramatic on day one — they’re the things that cause problems months or years later.
DIY or professional install?
Installing composite cladding over brick is well within reach if:
-
the wall is accessible
-
you’re comfortable drilling masonry
-
you’re methodical and patient
A professional installer makes sense if:
-
the wall is tall or awkward
-
access is difficult
-
the finish needs to be perfect
Either way, the principles are the same. The difference is execution.
Final thoughts
Installing composite cladding over brick isn’t complicated, but it does require doing things in the right order. Get the battens right, allow airflow, plan your layout, and treat the cladding as a finished surface, not something you can “adjust later”.
Do that, and composite cladding will sit flat, look sharp, and perform exactly as it’s meant to — quietly, cleanly, and for a long time.